
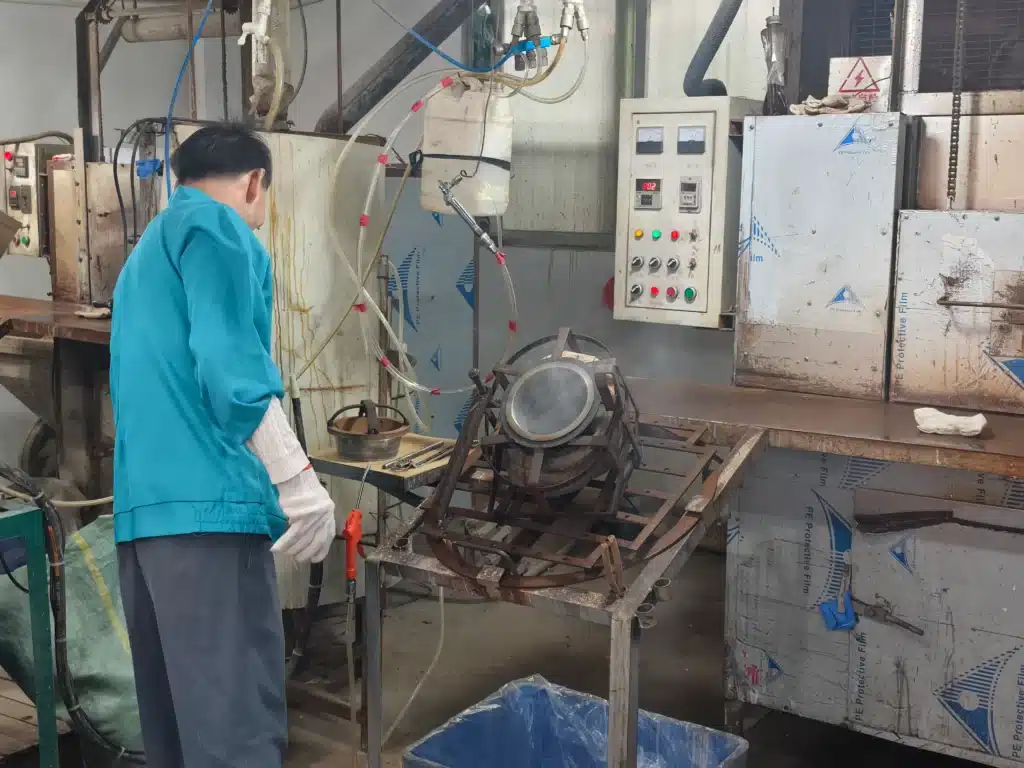
Pick up a classic designer art toy, squeeze its arm gently, and you will instantly feel that signature warmth. It isn’t cold like cast resin, nor is it rigid and heavy like solid injection-molded plastic. It feels light, tactile, slightly flexible, and delightfully hollow.
That unique tactile sensation is the hallmark of soft vinyl—famously known in art toy circles as Sofubi.
For decades, hollow vinyl figures have held a legendary status among independent artists, IP creators, and global collectible brands. From kaiju monsters and blind box mascots to high-end designer art pieces, soft vinyl offers an unmatched balance of durability, visual charm, and tactile playability.
Have you ever wondered how a flat 2D illustration transforms into a lightweight, hollow 3D vinyl figure with seamless joints?
The journey from a digital sculpt to a physical vinyl collectible on a retail shelf is a fascinating mix of ancient industrial craft and modern chemistry. Unlike standard plastic manufacturing, slush casting soft vinyl relies heavily on human skill, precise thermal timing, and specialized copper electroforming tooling.
As an experienced OEM manufacturing team at MIHOX, we pull back the curtain on our factory floor everyday. In this complete guide, we will walk you through every single phase of the hollow vinyl figure manufacturing process—explaining the engineering logic, material science, defect prevention, and cost realities behind bringing your character to life.
Step 1: The Design & Sculpting Phase – Turning 2D Dreams into 3D Geometry
Every physical toy begins as a dream on paper or a digital canvas. Transforming a character illustration into a hollow vinyl figure requires a deep understanding of rotational mold physics right from the first pencil stroke.
2D Concept Art and Orthographic Turnarounds
Before touching any 3D software, our production engineers evaluate your character’s 2D concept. We need clean orthographic turnarounds—front, side, back, and 3/4 views.
During this initial review, we look for geometry that might cause headaches during factory production. Soft vinyl figures are manufactured by pulling warm, flexible plastic out of a rigid mold opening. If your character has sharp, backward-curving spikes or long, paper-thin cape tails, pulling those shapes out of a mold without tearing the hot vinyl becomes a massive challenge.
We work closely with creators to make subtle tweaks to character poses, ensuring the geometry favors smooth demolding while preserving the artistic spirit of the design.
Digital 3D Sculpting in ZBrush
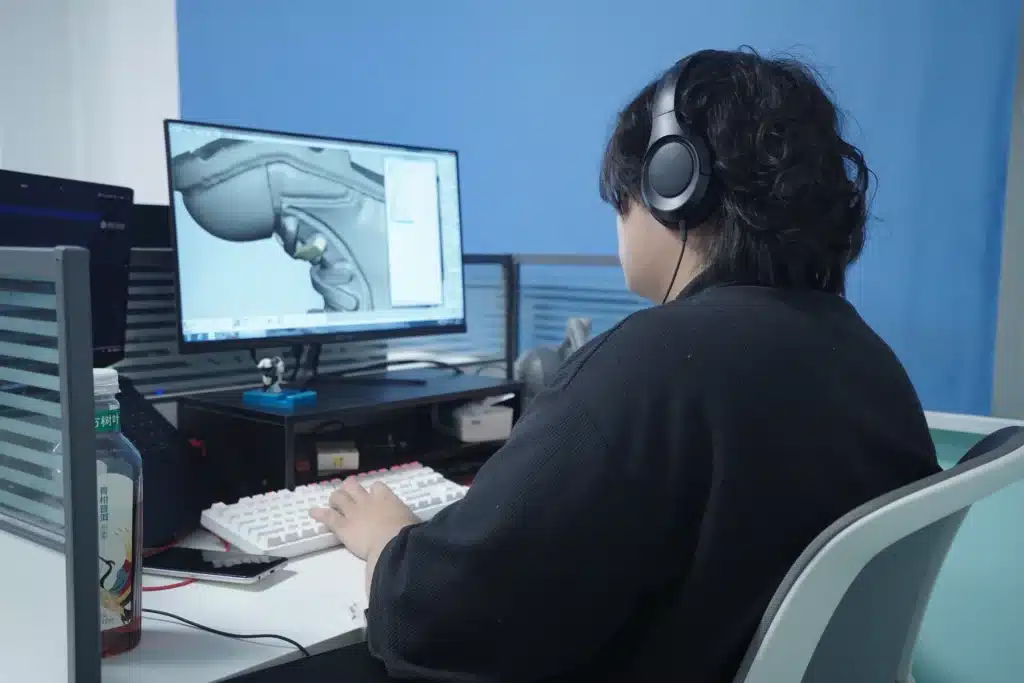
Once the 2D concept is locked, the character moves into digital 3D sculpting using tools like ZBrush. Digital sculpting for soft vinyl isn’t just about making a cool model; it is about engineering a functional physical object.
Our sculptors focus on three technical factors:
- Part Splitting: Large or complex figures cannot be cast as a single piece. We split the model into logical body components—head, torso, arms, legs, and tail. Each split point is designed with a specific joint structure.
- Draft Angles and Undercuts: Slush casting uses flexible copper molds, which allows for more dramatic undercuts than rigid steel injection molds. However, every part still needs a clear extraction path.
- Shrinkage Compensation: As liquid PVC cools down and cures, it shrinks by roughly 1.5% to 3%. Our 3D team scales the digital sculpt up slightly to ensure the final cooled figure matches your exact intended dimensions.
Wall Thickness Planning
Because these figures are hollow, maintaining an even wall thickness is crucial. If the vinyl walls are too thin (under 1.5mm), the figure will feel flimsy and may collapse under its own weight over time. If the walls are too thick (over 4mm), the vinyl becomes overly rigid, heavy, and expensive, defeating the purpose of choosing soft vinyl in the first place.
Our target wall thickness for standard 6 to 8-inch soft vinyl figures is typically 2.5mm to 3.2mm. This sweet spot delivers a sturdy structure with that satisfying, slightly squeezable vinyl give.
Step 2: The Master Prototype & Wax Model – Crossing the Physical Threshold
With the 3D sculpt approved, we move from the digital realm into tangible physical prototypes. This is where traditional craftsmanship meets modern rapid prototyping.
High-Resolution SLA 3D Printing
We start by printing the split components on high-resolution SLA (Stereolithography) 3D printers. We use specialized photopolymer resins that capture micro-details down to 25 microns.
When the raw 3D print comes off the print bed, it still bears microscopic layer lines—tiny step marks left by the UV laser. If left untreated, these layer lines would transfer directly into the copper mold and ruin the smooth finish of the final vinyl.
Our hand-finishing technicians sand, polish, and prime the 3D print until its surface is completely glass-smooth.
The Industrial Wax Conversion Process
Here is a factory secret that many newcomers don’t know: you cannot electroform a copper mold directly off a plastic 3D print.
To create the copper molds used in slush casting, we must convert our plastic master prototype into a specialized industrial wax model:
- Silicone Master Mold Creation: The polished SLA plastic parts are submerged in liquid silicone to create a flexible master mold.
- Wax Injection: Once the silicone cures, technicians inject a melted, high-density industrial wax formulation into the silicone cavity.
- Hand Wax Refining: After cooling, the solid wax replica is carefully removed.
Why do we use wax? Because wax is endlessly workable. Master artisans examine the wax prototype under magnifying lamps, using fine carving tools to touch up tiny details, smooth out parting lines, and polish the surface to a mirror shine.
This wax prototype serves as the direct sacrifice for creating your production tooling.
Step 3: Electroforming Copper Molds – The Secret Alchemy of Slush Tooling
If injection molding relies on massive CNC milling machines cutting heavy steel blocks, soft vinyl slush casting relies on electro-chemistry.
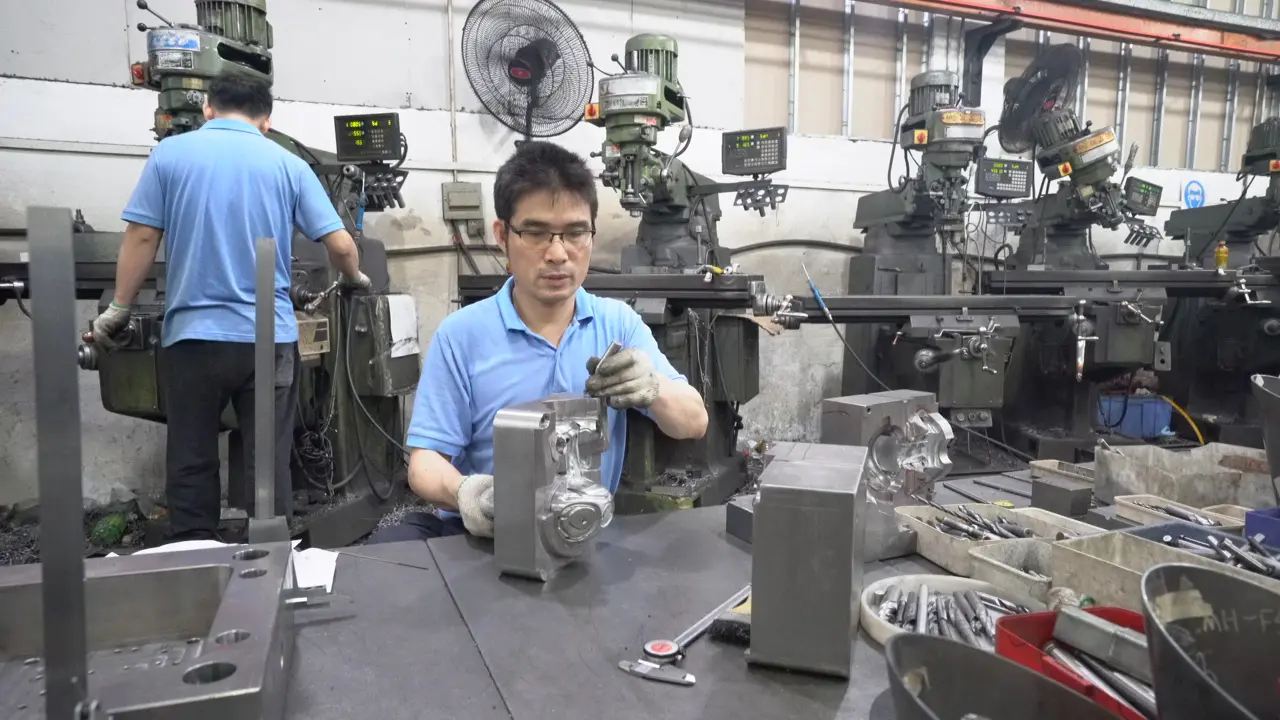
The copper mold (often called an electroformed copper cavity or gangmo) is the heart and soul of soft vinyl manufacturing.
- 1. Silver Spray Coating: Makes wax surface electrically conductive.
- 2. Copper Sulfate Immersion: Plating bath with electrical current.
- 3. Copper Ion Deposition: Builds 2.5mm – 3.5mm thick copper shell.
- 4. Dewaxing: Boiling water bath melts wax, leaving hollow mold.
The Silvering and Plating Bath
Industrial wax does not conduct electricity. To prepare the wax prototype for electroplating, technicians spray a micro-thin layer of conductive silver nitrate solution over its entire surface.
The silver-coated wax piece is then suspended inside a large electroforming tank filled with a blue copper sulfate solution. Pure copper anodes hang in the bath alongside the wax piece, and a continuous electrical current is applied.
Over the course of 7 to 14 days, copper ions slowly migrate through the chemical bath, depositing layer upon atomic layer of pure copper onto the silvered wax surface.
Day after day, the metal shell grows thicker, tightly hugging every tiny curve, line, and detail carved into the wax.
Dewaxing and Mold Finishing
Once the copper shell reaches a uniform thickness of roughly 2.5mm to 3.5mm, the piece is pulled from the chemical tank.
Now comes the “lost wax” step: the copper-encased wax part is placed in boiling water. The wax inside melts away completely, draining out through the mold’s neck opening.
What remains is a seamless, hollow, ultra-durable copper mold shell with an interior surface that perfectly mirrors the original wax artwork.
The outer rim of the copper mold is welded onto an iron mounting collar, allowing it to be mounted onto factory heating racks. To dive deeper into how metal tooling options compare, read our breakdown on Steel Mold vs Copper Mold for Toy Manufacturing.
Hollow Vinyl Slush Casting vs. Other Toy Manufacturing Methods
To help you decide whether slush-cast soft vinyl is the right material path for your project, we have put together this direct comparison table against alternative production methods:
| Manufacturing Parameter | Slush Cast Hollow Vinyl (Sofubi) | Plastic Injection Molding (ABS/PVC) | Solid PU Resin / Polystone Casting |
|---|---|---|---|
| Tooling Material | Electroformed Copper Molds | Hardened Steel / Aluminum Molds | Flexible Silicone Molds |
| Tooling Cost ($) | Moderate ($1,500 – $3,500 per set) | High ($6,000 – $20,000+ per set) | Low ($300 – $800 per set) |
| Tooling Lifespan | Long (10,000 – 50,000 units) | Extreme (100,000+ units) | Short (30 – 50 units per mold) |
| Unit Production Cost | Balanced ($$) | Low on high runs ($) | High ($$$) |
| Weight & Feel | Lightweight, hollow, warm, squeezable give. | Solid, rigid, cool to touch, precise. | Heavy, dense, cold, stone-like feel. |
| Impact Resistance | Extreme (Virtually unbreakable on drops). | High (Resistant to minor drops). | Low to Moderate (Brittle, prone to chipping). |
| Articulated Joints | Smooth V-cut friction-fit rotational joints. | Mechanical snap-fit / POM ball joints. | Static / Magnetic joints preferred. |
| Detail Sharpness | Smooth, soft organic lines (Best for pop art). | Ultra-sharp geometric lines & fine textures. | Extreme micro-details & sharp edges. |
| Ideal Order Scale (MOQ) | 300 to 3,000 units per batch. | 3,000 to 10,000+ units per batch. | 50 to 500 units per batch. |
| OEM Strategic Insight (MIHOX) | Perfect for indie designer toys, kaiju, and limited IP drops needing a premium artistic feel. | Best for high-volume mass retail, action figures, and blind box series. | Ideal for large-scale high-end statues, detailed display dioramas, and micro-runs. |
Step 4: The Slush Casting Chamber – Heat, Liquid Plastisol, and Muscle Memory
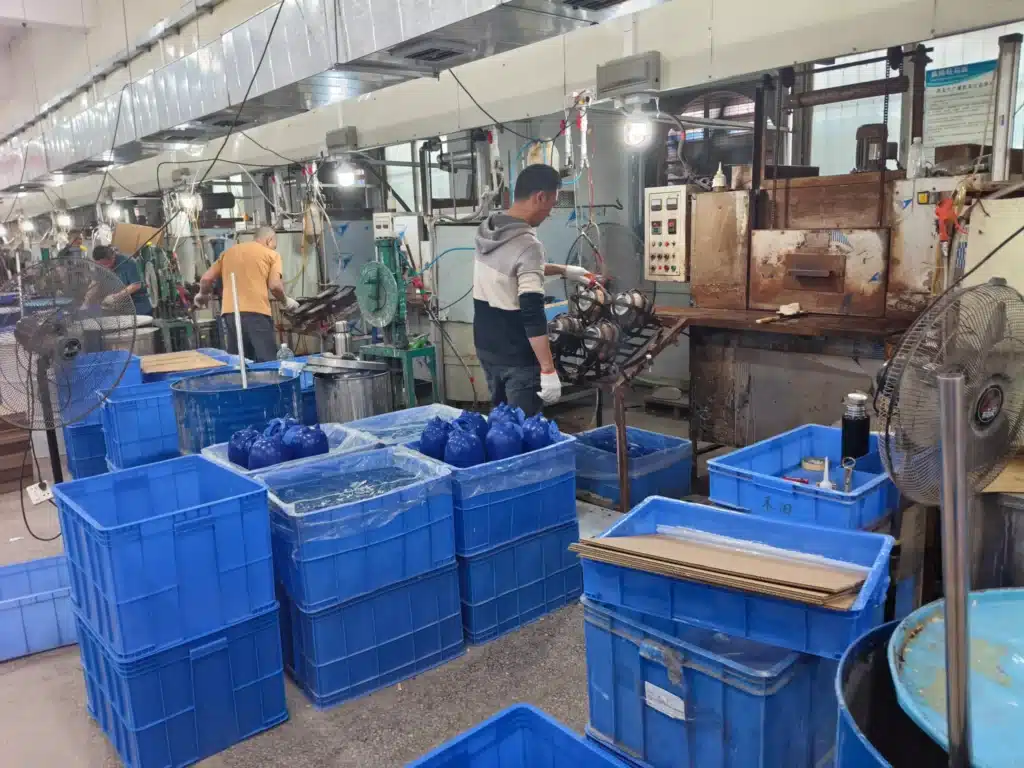
Now we enter the heart of the factory floor: the slush casting workshop.
Unlike automated injection molding machines that run on computer algorithms, slush casting is a rhythmic, hands-on craft that relies heavily on the muscle memory and thermal judgment of experienced technicians.
Formulating the Liquid PVC Plastisol
The raw material used in slush casting starts as a thick, viscous liquid called PVC Plastisol. This fluid is a carefully balanced mixture of:
- Suspension-grade PVC resin powder.
- Non-toxic, phthalate-free liquid plasticizers (such as eco-friendly citrate esters or DINCH).
- Thermal stabilizers to prevent yellowing or burning under high temperatures.
- Liquid color pigments for base-color vinyl runs.
At MIHOX, we strictly formulate all our plastisols to meet global safety standards, ensuring zero toxic heavy metals or banned phthalate softeners.
The Pre-Heat and Fill Cycle
The slush casting process follows a strict thermal dance:
- Pre-Heating: The open copper molds are mounted on a steel rack and dipped into a hot thermal oil bath or placed in a gas-fired oven heated to roughly 160°C to 200°C.
- Filling: Once the copper mold reaches temperature, the operator pulls it out and immediately fills the cavity to the top with room-temperature liquid plastisol.
- The Gelling Phase: As the cold liquid plastisol touches the piping-hot copper walls, a chemical reaction occurs. The heat causes the PVC resin particles to absorb the liquid plasticizer and swell, forming a solid, gelled layer of vinyl along the inner surface of the mold.
- The Critical Pour-Out: Timing is everything here. After a precise number of seconds (usually 10 to 25 seconds, depending on the desired wall thickness), the technician flips the mold upside down and pours the remaining uncured liquid plastisol out of the neck opening back into the supply vat.
What remains inside the mold is a perfectly uniform, hollow shell of semi-cured vinyl clinging to the copper walls!
Secondary Baking and Vacuum Degassing
After pouring out the liquid core, the copper mold goes back into the oven for a secondary baking phase. This secondary heat bakes the gelled vinyl wall thoroughly, cross-linking the PVC polymer chains and giving the material its permanent strength and elasticity.
If air bubbles get trapped in the liquid plastisol during pouring, they can create ugly pinholes or crater defects on the toy’s surface.
To eliminate this, our factory uses continuous vacuum degassing chambers to pull all microscopic air bubbles out of the liquid plastisol vats before casting ever begins. To understand how we tackle air trapped in soft vinyl, read our deep dive on Why Do Soft Vinyl Toys Get Air Bubbles?
Step 5: Demolding & Trimming – Pulling Warm Vinyl and Fitting V-Cut Joints
Watching a master operator demold a soft vinyl figure looks almost like magic.
How do you get a complex, three-dimensional plastic part out of a rigid metal mold with a narrow neck opening? You pull it while it is hot!
The Hot Extraction Technique
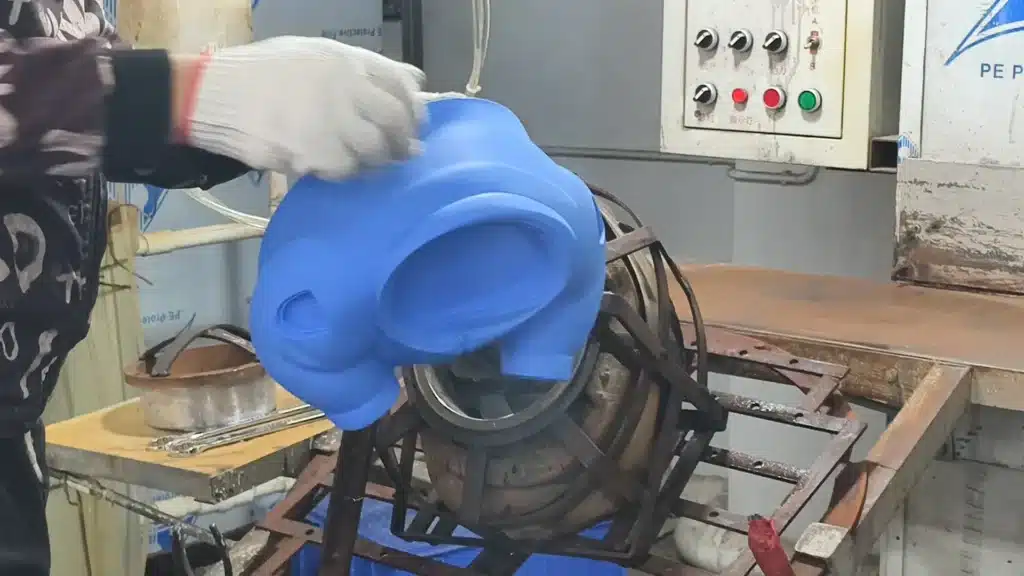
When the secondary baking cycle finishes, the vinyl inside the copper mold is extremely hot (around 140°C) and completely pliable—behaving almost like warm, rubbery dough.
The technician grips the exposed neck rim of the vinyl part using specialized blunt pliers or thick heat-resistant gloved fingers. With a swift, practiced motion, they pull and twist the hot vinyl straight out of the narrow copper mold opening.
The soft vinyl stretches, collapses temporarily to squeeze through the small neck opening, and then instantly bounces back to its molded 3D shape out in the open air!
Immediately after extraction, the hot vinyl component is dropped into a cold water bath. The rapid temperature drop quenches the PVC, locking its crystalline structure in place and restoring its rigid, durable physical properties.
Flash Trimming and V-Cut Joint Fitting
When the vinyl comes out of the mold, the neck opening leaves a small ring of excess plastic known as flashing or the mold sprue.
Trimming operators use razor-sharp, heated curved knives to slice away this excess flash along the molded cut line.
This cut line forms the foundation of soft vinyl articulation: the V-Cut Joint.
A proper V-cut joint relies on precise friction geometry:
- The male plug on an arm or leg component is squeezed into the female socket on the torso.
- Because soft vinyl has memory and slight elasticity, the socket grips the plug firmly.
- When you rotate the figure’s arm, it turns smoothly with a satisfying, squeak-free resistance, holding whatever pose you set.
If you want to master designing smooth articulation for soft vinyl, check out The V-Cut Joint Guide.
Step 6: Painting, Spray Masks, and Finishing – Giving the Character its Soul
Raw vinyl components coming out of the cooling bath are usually a single solid base color—white, black, clear, or a bright pastel tone. The next step is transforming those plain plastic blanks into vibrant, expressive works of art.
- 1. Ultrasonic Degreasing: Removes residual oils & mold releases.
- 2. Primer Application: Promotes paint-to-vinyl adhesion.
- 3. Copper Mask Spraying: Precision cut-out metal paint stencils.
- 4. Pad Printing: Sharp eye graphics & crisp logo graphics.
- 5. Hand Airbrushing & Detailing: Gradients, blushes, shadows.
- 6. Protective Topcoat: Matte, satin, or high-gloss UV seal.
Degreasing and Surface Preparation
Before any paint touches the vinyl, every part goes through an ultrasonic bath filled with mild eco-friendly degreasers. This step strips away any microscopic mold release lubricants, dust, or handling oils left over from demolding.
If you skip degreasing, spray paint will fail to bond properly, leading to peeling or chipping paint down the road.
Custom Copper Spray Masks (Masking Tooling)
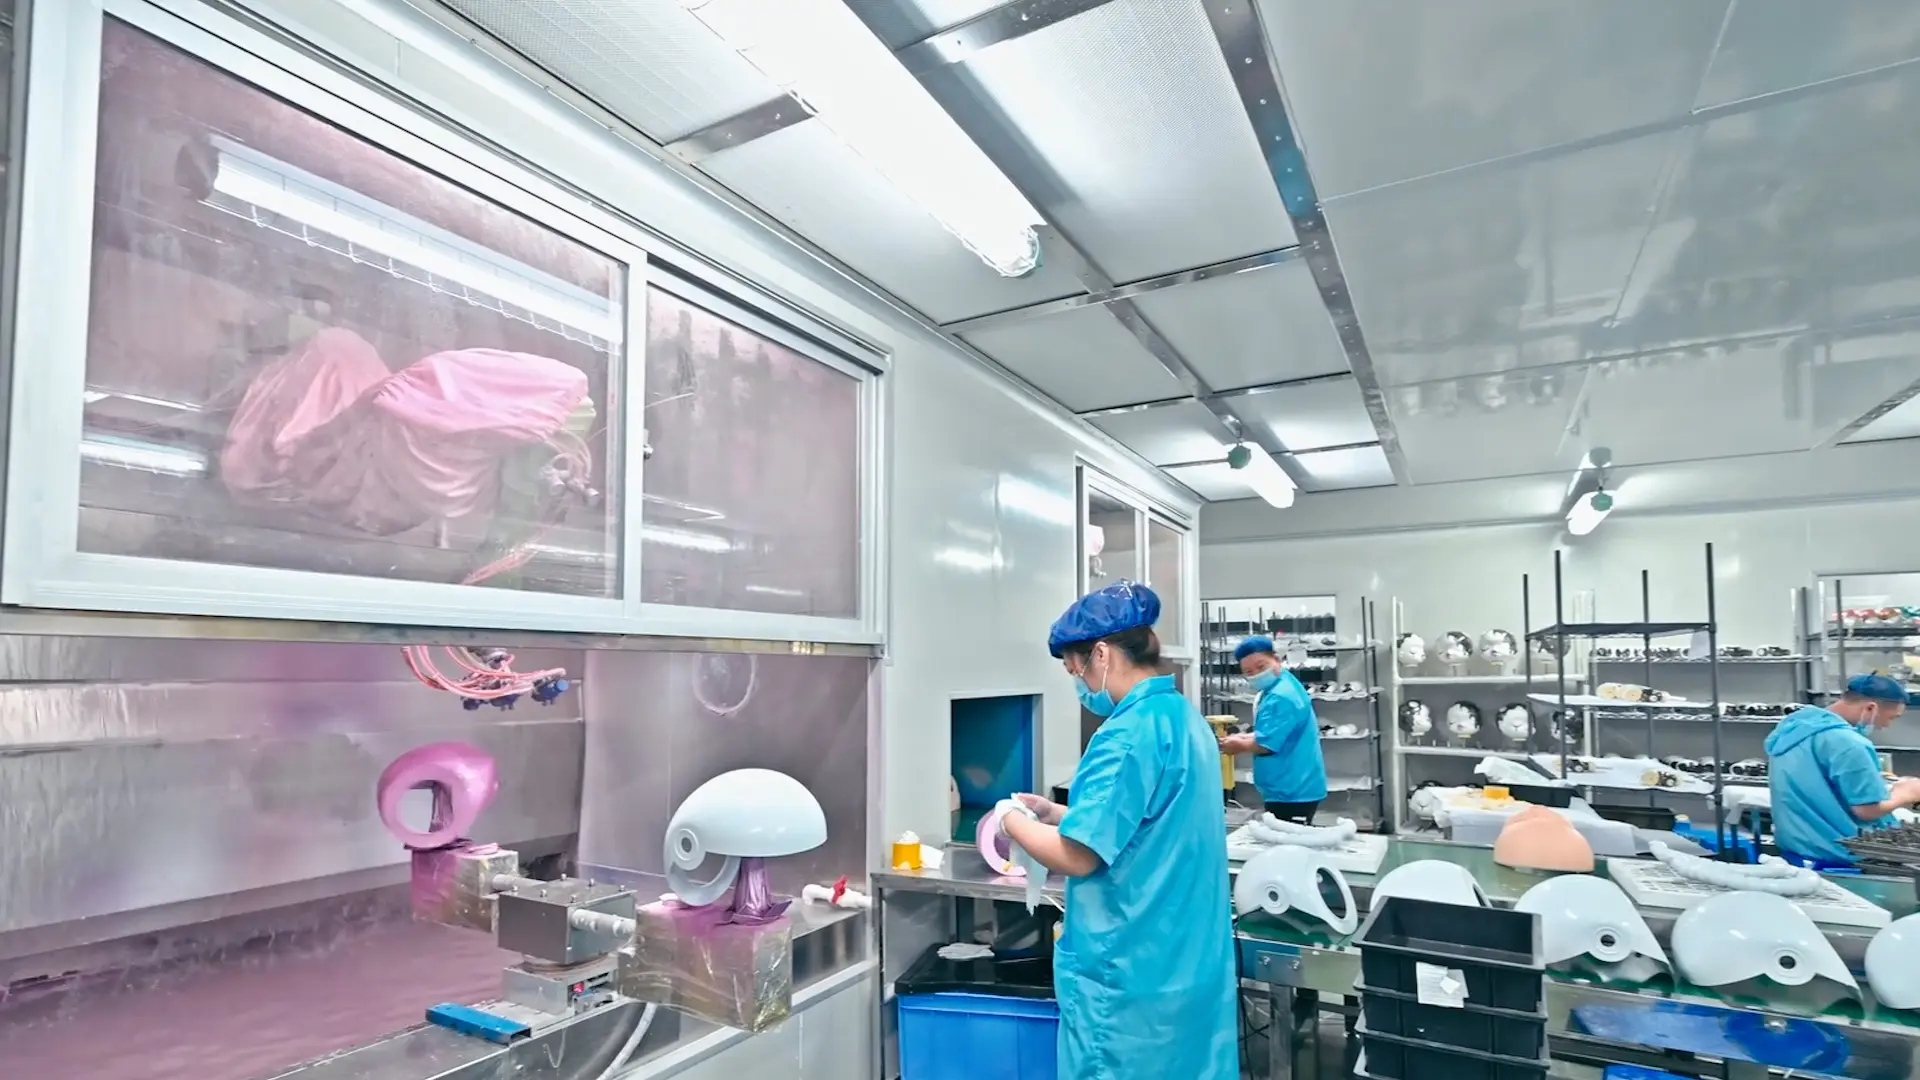
How do factories spray crisp, multi-colored paint lines onto thousands of curved vinyl toy parts without bleeding? We build custom Electroformed Copper Spray Masks.
These spray masks are hollow metal stencils cast to fit over specific sections of the figure with zero clearance:
- To paint a character’s red jacket, the operator clamps a copper mask over the figure that covers everything except the jacket area.
- They spray the red acrylic paint evenly over the exposed section.
- The mask is removed, leaving a razor-sharp color edge without any overspray.
For complex designer toys, a single figure may require anywhere from 5 to 20 individual copper spray masks to complete all color passes!
Pad Printing and Fine Detailing
For hyper-precise graphics—like character eyes, tiny clothing text, or subtle pupil highlights—spray painting isn’t sharp enough.
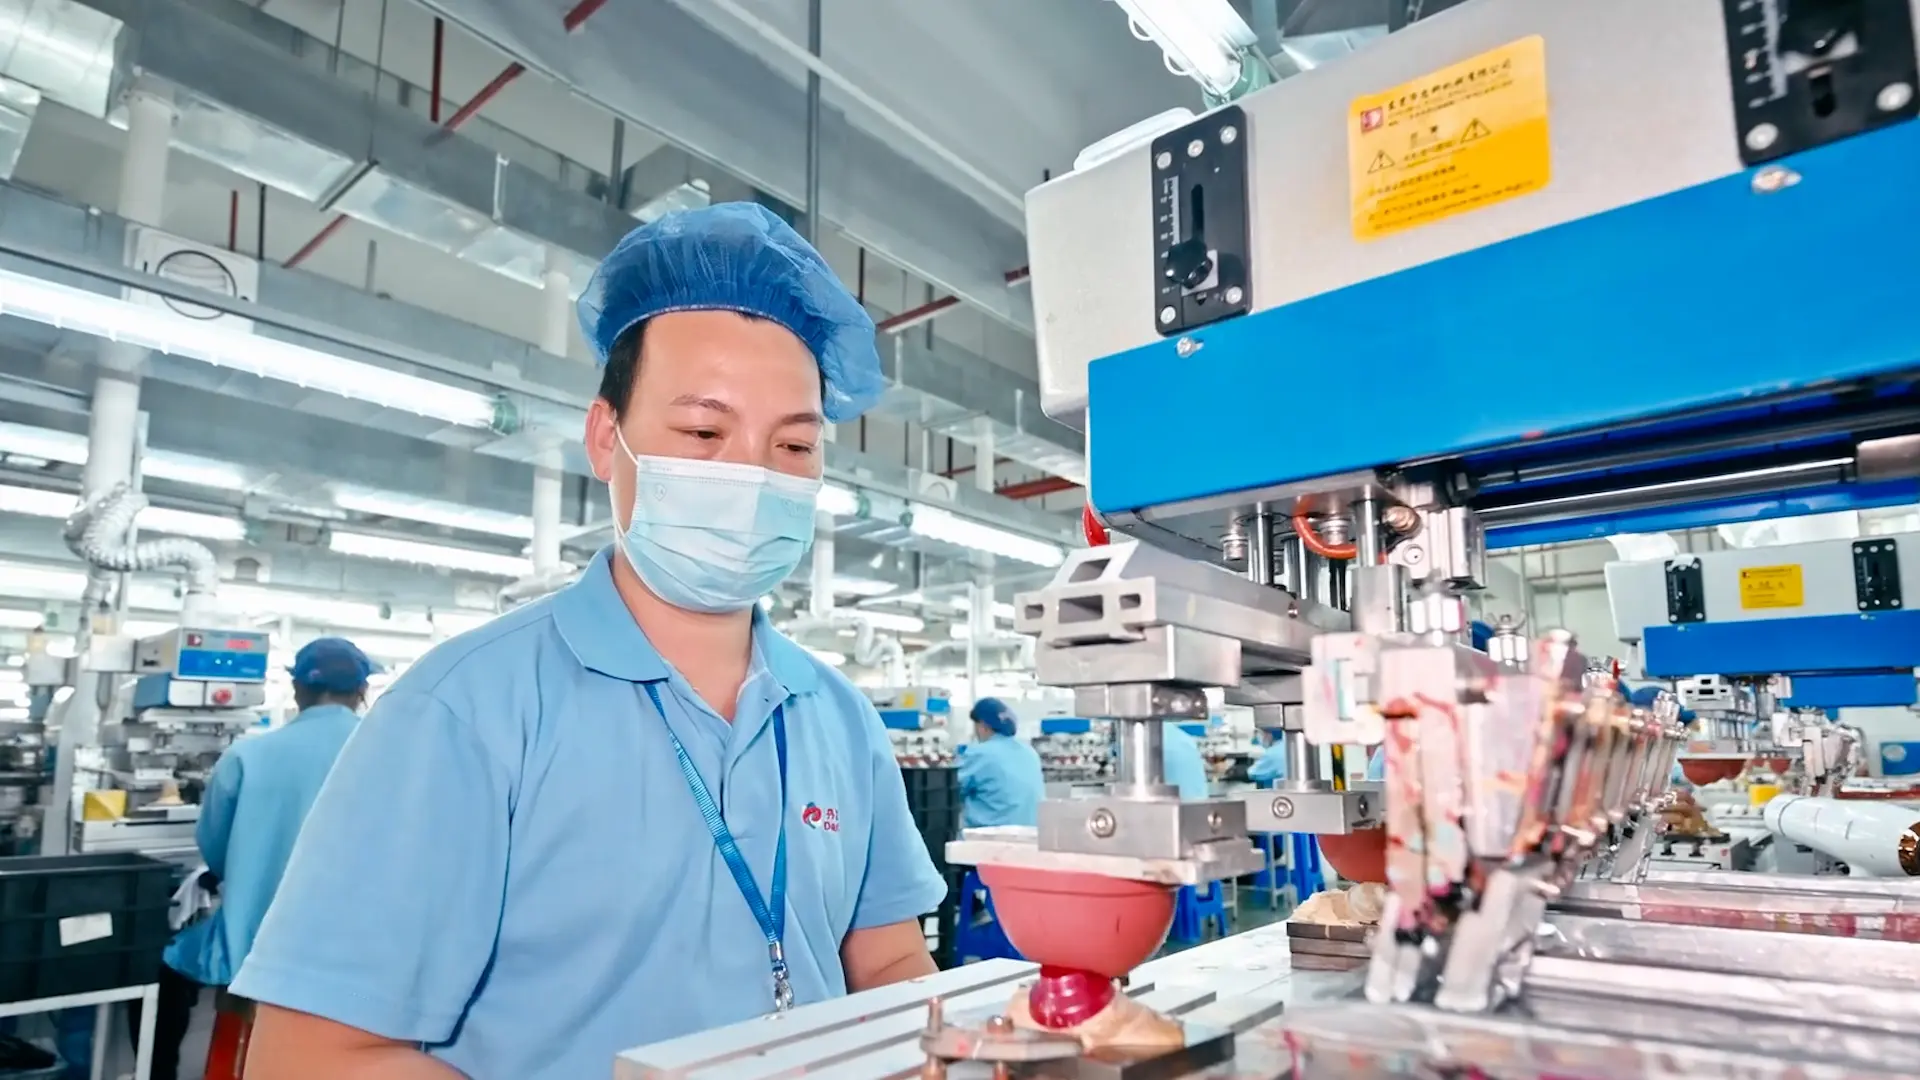
We use Pad Printing (Tampo Printing). A soft, flexible silicone pad picks up liquid ink from an etched steel plate and stamps the graphic onto the curved vinyl surface with sub-millimeter precision.
For organic blushes, soft color gradients, or weathered effects, master painters hand-airbrush the pieces using flexible acrylic-polyurethane paints formulated specifically to bond with vinyl without cracking.
To learn how we achieve 100% color accuracy on vinyl production runs, read The Art Toy Color Matching Guide.
Step 7: Quality Control, Testing, and Safe Delivery
Once painted and sealed under protective clear coats (matte, satin, or gloss), the individual components move to the final assembly and quality control line.
100% Visual and Articulation Audits
Every completed figure undergoes a individual visual audit under standardized D65 daylight lamps. Quality control inspectors look for:
- Paint scratches, specks, or color bleeding.
- Pinholes or air bubble craters near seam lines.
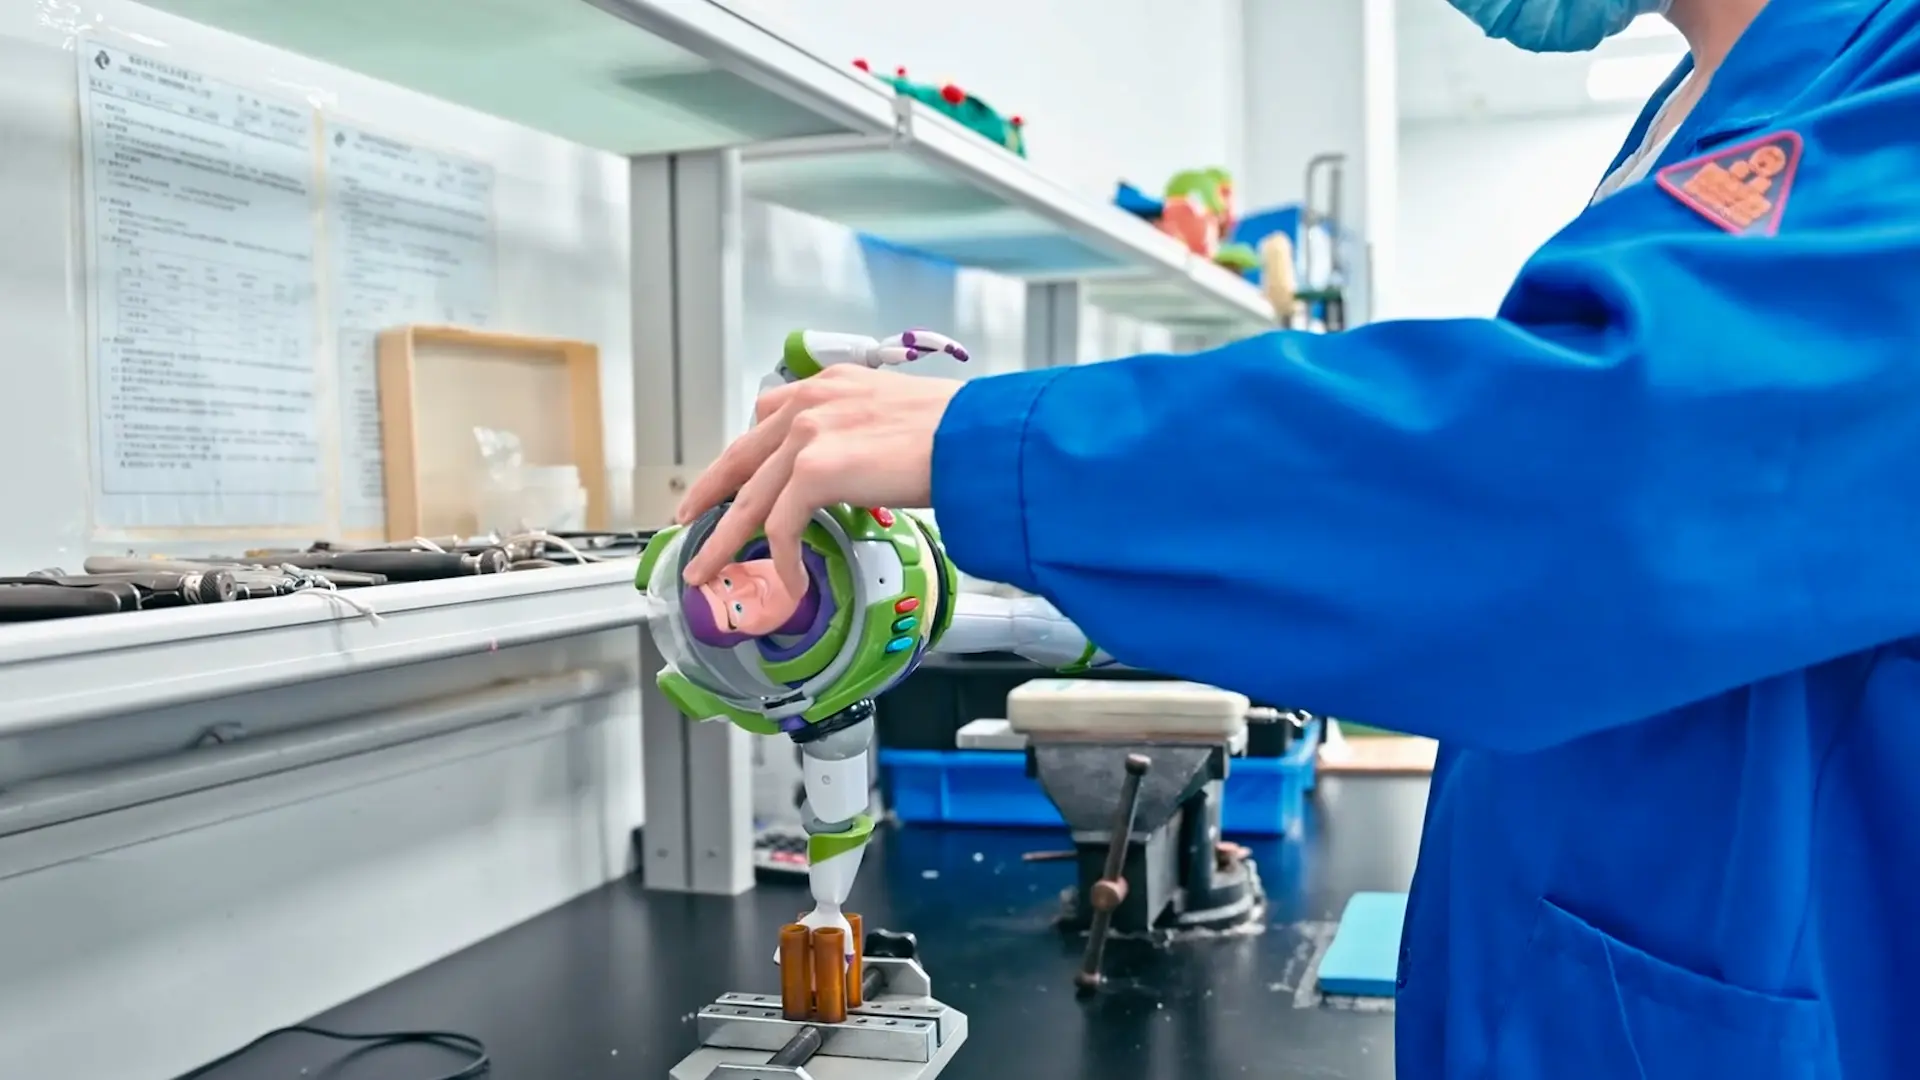
- Proper joint friction—ensuring head, arms, and legs rotate smoothly without popping out or wobbling loosely.
Safety Testing and Material Compliance
For international brand distribution, physical beauty is only half the equation. Toys must meet strict international safety standards:
- ASTM F963 (USA) & EN71-1/2/3 (Europe): Checks for mechanical safety, sharp edges, small part choking hazards, and flammability.
- Phthalate and Heavy Metal Screenings: We test vinyl batches to verify they are 100% free of lead, cadmium, and banned phthalate plasticizers (DEHP, DBP, BBP).
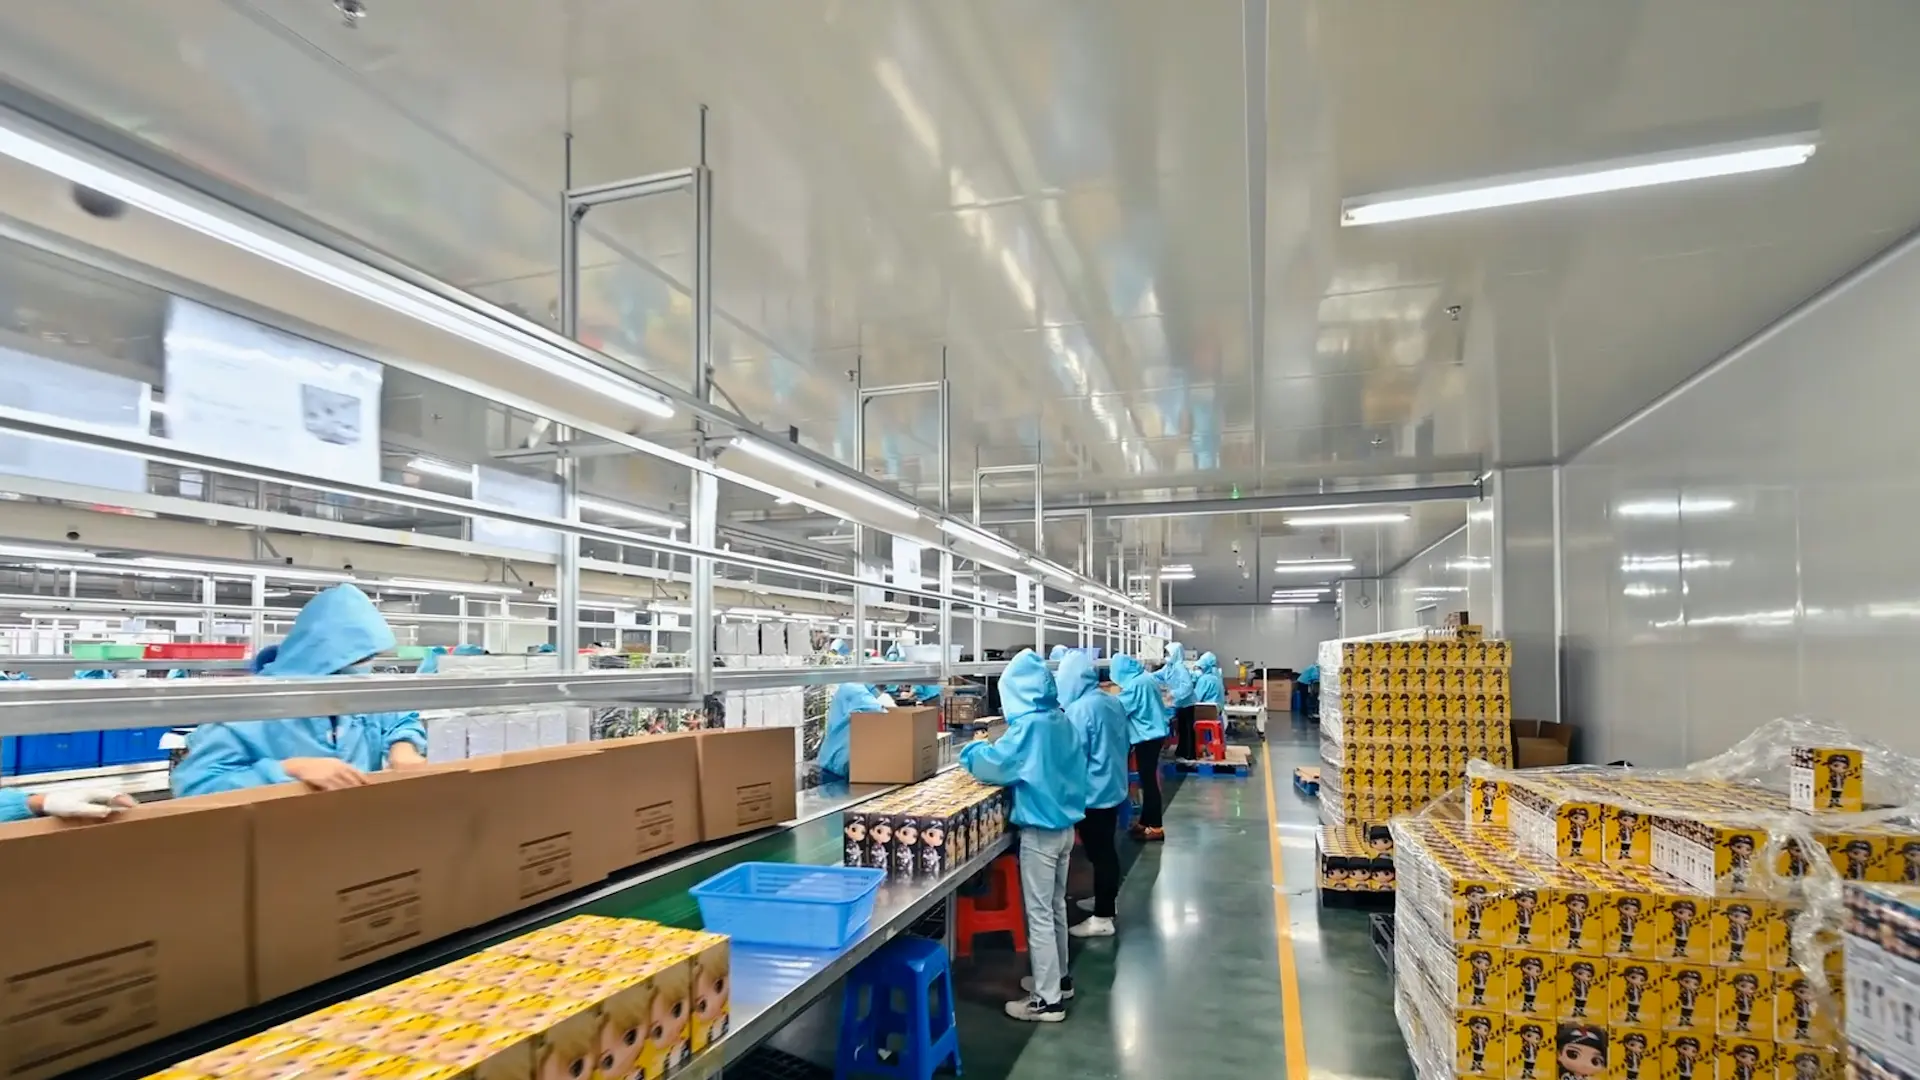
Figures are then packed in custom non-abrasive tissue paper, seated in protective EPE foam or clear PET blister trays, and sealed inside custom-printed collector boxes or blind box packaging.
How MIHOX Simplifies Your Hollow Vinyl Journey
Producing custom hollow vinyl figures can feel daunting if you are navigating mold shrinkage, copper electroforming, and V-cut joint tolerances on your own.
At MIHOX, we take the stress out of custom toy manufacturing.
We provide a clear, supportive OEM manufacturing path designed specifically for independent creators, IP owners, and global collectible brands:
- Engineering Design Review: Send us your 2D sketches or 3D files. Our team conducts a complete manufacturability audit before you spend a dime on tooling.
- Master Prototype & Wax Sampling: We handle SLA printing, surface polishing, and wax master conversion in-house.
- Electroformed Copper Tooling: We manage precision copper tanks, guaranteeing durable molds for thousands of flawless pulls.
- Clean Slush Casting & Precision Painting: Our experienced workshop team handles everything from eco-friendly plastisol to custom spray masking.
- Global Safety Certification & Shipping: We coordinate lab testing and export logistics, delivering retail-ready collectibles to your door.
Frequently Asked Questions (FAQs)
1. What is the difference between soft vinyl (Sofubi) and standard injection-molded PVC?
Soft vinyl (Sofubi) is produced using slush casting in hollow electroformed copper molds. Liquid PVC plastisol is gelled along hot mold walls, resulting in a lightweight, hollow, slightly flexible figure with soft organic lines. Injection-molded PVC uses high-pressure machines that force melted plastic resin into heavy steel molds, producing solid, rigid plastic parts with sharp geometric details and tight mechanical tolerances.
2. How much does a copper mold cost for a hollow vinyl figure?
A complete set of electroformed copper molds for a standard 6 to 8-inch soft vinyl figure typically ranges from $1,500 to $3,500 USD, depending on the character’s complexity and number of split parts (e.g., head, torso, arms, legs). This is significantly lower than steel injection molds, which often cost between $6,000 and $20,000+ per set.
3. What is the Minimum Order Quantity (MOQ) for custom hollow vinyl manufacturing at MIHOX?
Because slush casting relies on flexible copper tooling rather than massive automated machinery, soft vinyl offers very creator-friendly production scales. Our standard Minimum Order Quantity (MOQ) for custom hollow vinyl runs starts at 500 to 3,000 pieces per design, making it an ideal choice for limited-edition designer toy drops, indie artist releases, and Kickstarter campaigns.
4. Can soft vinyl figures have articulated moving parts?
Yes! Soft vinyl figures use rotational friction-fit joints known as V-Cut Joints. During the 3D design phase, split parts (such as arms or heads) are engineered with a ridge-and-groove joint profile. When assembled, the slight elasticity of the vinyl creates a firm friction seal that allows parts to rotate 360 degrees smoothly without requiring mechanical screws or plastic pins.
5. Are MIHOX soft vinyl toys safe and phthalate-free for global distribution?
Absolutely. All custom vinyl figures produced at MIHOX are formulated using high-grade, non-toxic PVC resin and eco-friendly, phthalate-free liquid plasticizers. Our production materials comply with global toy safety regulations, including ASTM F963 (US), EN71-3 (Europe), and California Proposition 65 standards.