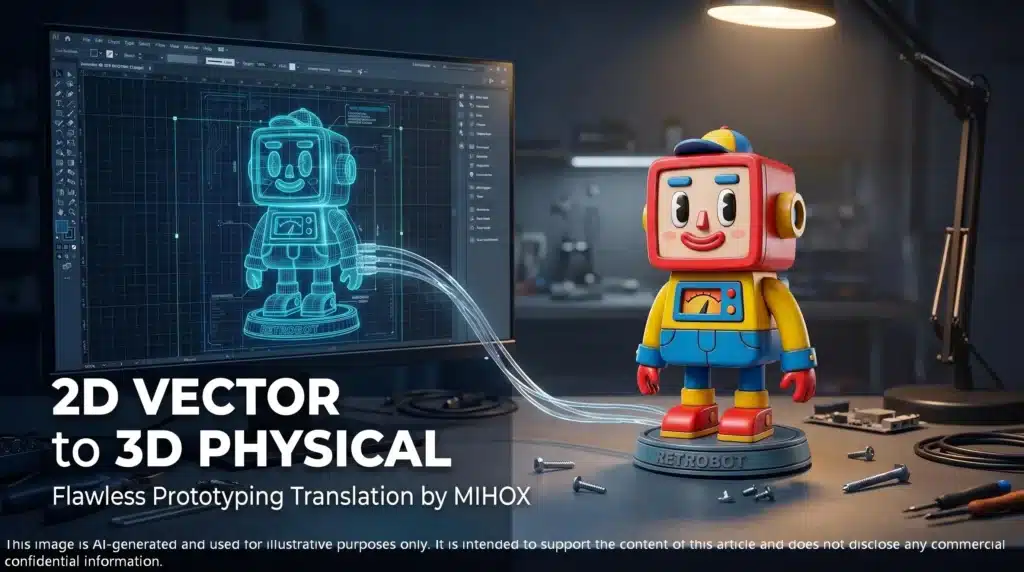
You just put down your Apple Pencil on your iPad. On the screen is a flawless 2D vector illustration: your original character striking a highly dynamic pose, with vibrant colors and sharp lines. You export the file as a PNG, let out a long sigh of relief, and think to yourself, “Awesome, now I just send this to the OEM factory, and my art toy will be sitting on retail shelves!”
You know what? Almost every indie creator new to the industry thinks exactly this way the first time they hit that “Send” button.
But honestly, if manufacturing a toy was as simple as hitting print, our engineers pulling their hair out on late-night shifts in the workshop would have lost their jobs long ago. Spanning across a flat digital image and a physical 3D toy you can hold in your hands is a massive, incredibly long gap filled with physical challenges and endless compromises.
Translating 2D to 3D is absolutely not something you can solve by just entering a “thickness” parameter in software. It is a magical “spatial translation.” Today, as a veteran behind the scenes at MIHOX, I want to take you out of the comfort zone of your digital canvas. We are going to tear open the blueprints of designer toy manufacturing and see exactly how your flat masterpiece gets its first true physical heartbeat on our assembly lines.
The “Beautiful Lie” of 2D: Illusions the Physical World Forbids
We have to face a somewhat brutal truth first: 2D art is, at its core, the art of visual deception.
When you are sketching lines in Illustrator, you are actually enjoying a privilege—you are completely free from the constraints of gravity, perspective rules, and material mechanics. Your character can have absurdly anti-gravity hair blowing backward; its foot can touch the ground with an area of just a single pixel while remaining perfectly stable; most amusingly, like Mickey Mouse’s ears, certain features of many 2D characters stubbornly seem to always face the audience regardless of the angle.
But when you send this flat, front-view-only image to MIHOX, our 3D modelers are faced with a massive headache of a detective game.
“What does the back of its head look like?”
“How thick is this cape from the side?”
“How exactly is that floating sword attached to the hand?”
Do we just fabricate the back out of thin air? To some extent, yes. This requires our 3D prototype sculptors to understand not just the software, but your unique artistic style. While preserving the original “soul” of your character, we must fill in those blind spots you hid in 2D, bit by bit in 3D space, through incredibly restrained imagination. This is not just copying a drawing; it is a secondary creation based on your inspiration.
3D Modeling: Not Just Sculpting, But a “Gravity Battle”
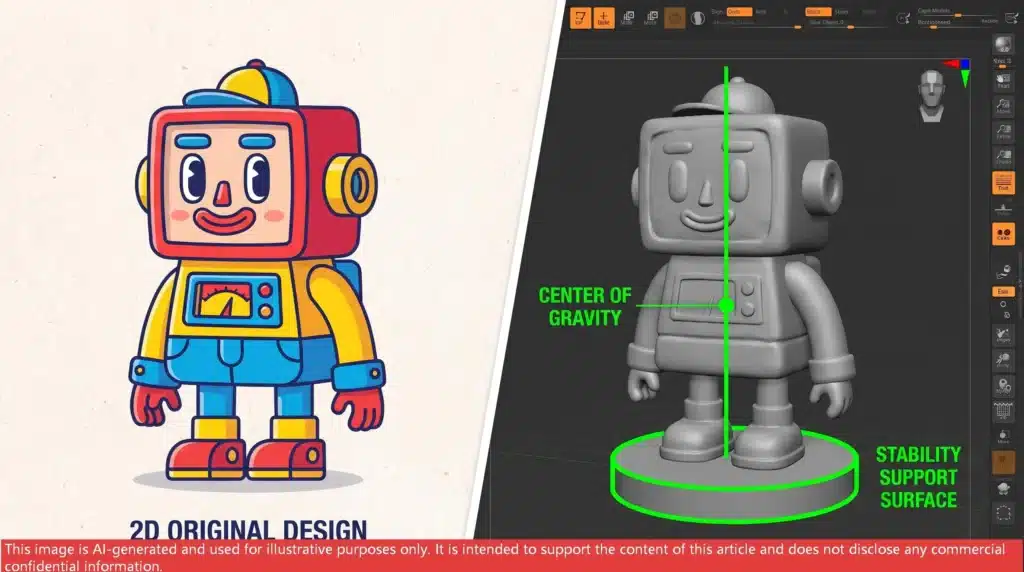
Let me explain the key issue here. When the 2D blueprint officially enters 3D sculpting software like ZBrush, the real battle begins. And our biggest enemy is gravity.
On a flat canvas, your assassin character can leap into the air, presenting an inverted pyramid structure that absolutely defies the laws of physics. But in reality, if we just printed that 1:1, it would simply crash face-first onto the desk like a rock.
To make it stand stable on its own, our engineers must perform incredibly subtle adjustments to the center of gravity.
Sometimes, we quietly spread the character’s legs a few millimeters wider, or enlarge the sole area slightly to increase ground contact stability. If the pose is simply too extreme, we have to introduce an external variable: a base. To avoid ruining your design, we might suggest making the base look like a splash of water or a weathered rock.
This process requires preserving the character’s original visual tension to the greatest extent while strictly adhering to the laws of physics. It is the ultimate test of technical skill in art toy prototyping.
Part Splitting Engineering: Wielding the Knife for a Perfect “Seamless” Illusion
Alright, let’s say we sculpted the character flawlessly in 3D, and the center of gravity is rock solid. Can we just throw it straight to the 3D printer now?
You know how it goes—things are rarely that smooth. Before actual printing, we must perform an incredibly “cruel” surgery on your masterpiece: Part Splitting.
We slice the complete 3D model into pieces like cutting a cake. The hair comes off, the arms come off, and the tiny accessories on the clothes are detached. When many creators see their complete character turned into a pile of fragmented chunks for the first time, they often feel a wave of panic.
Why do we do this?
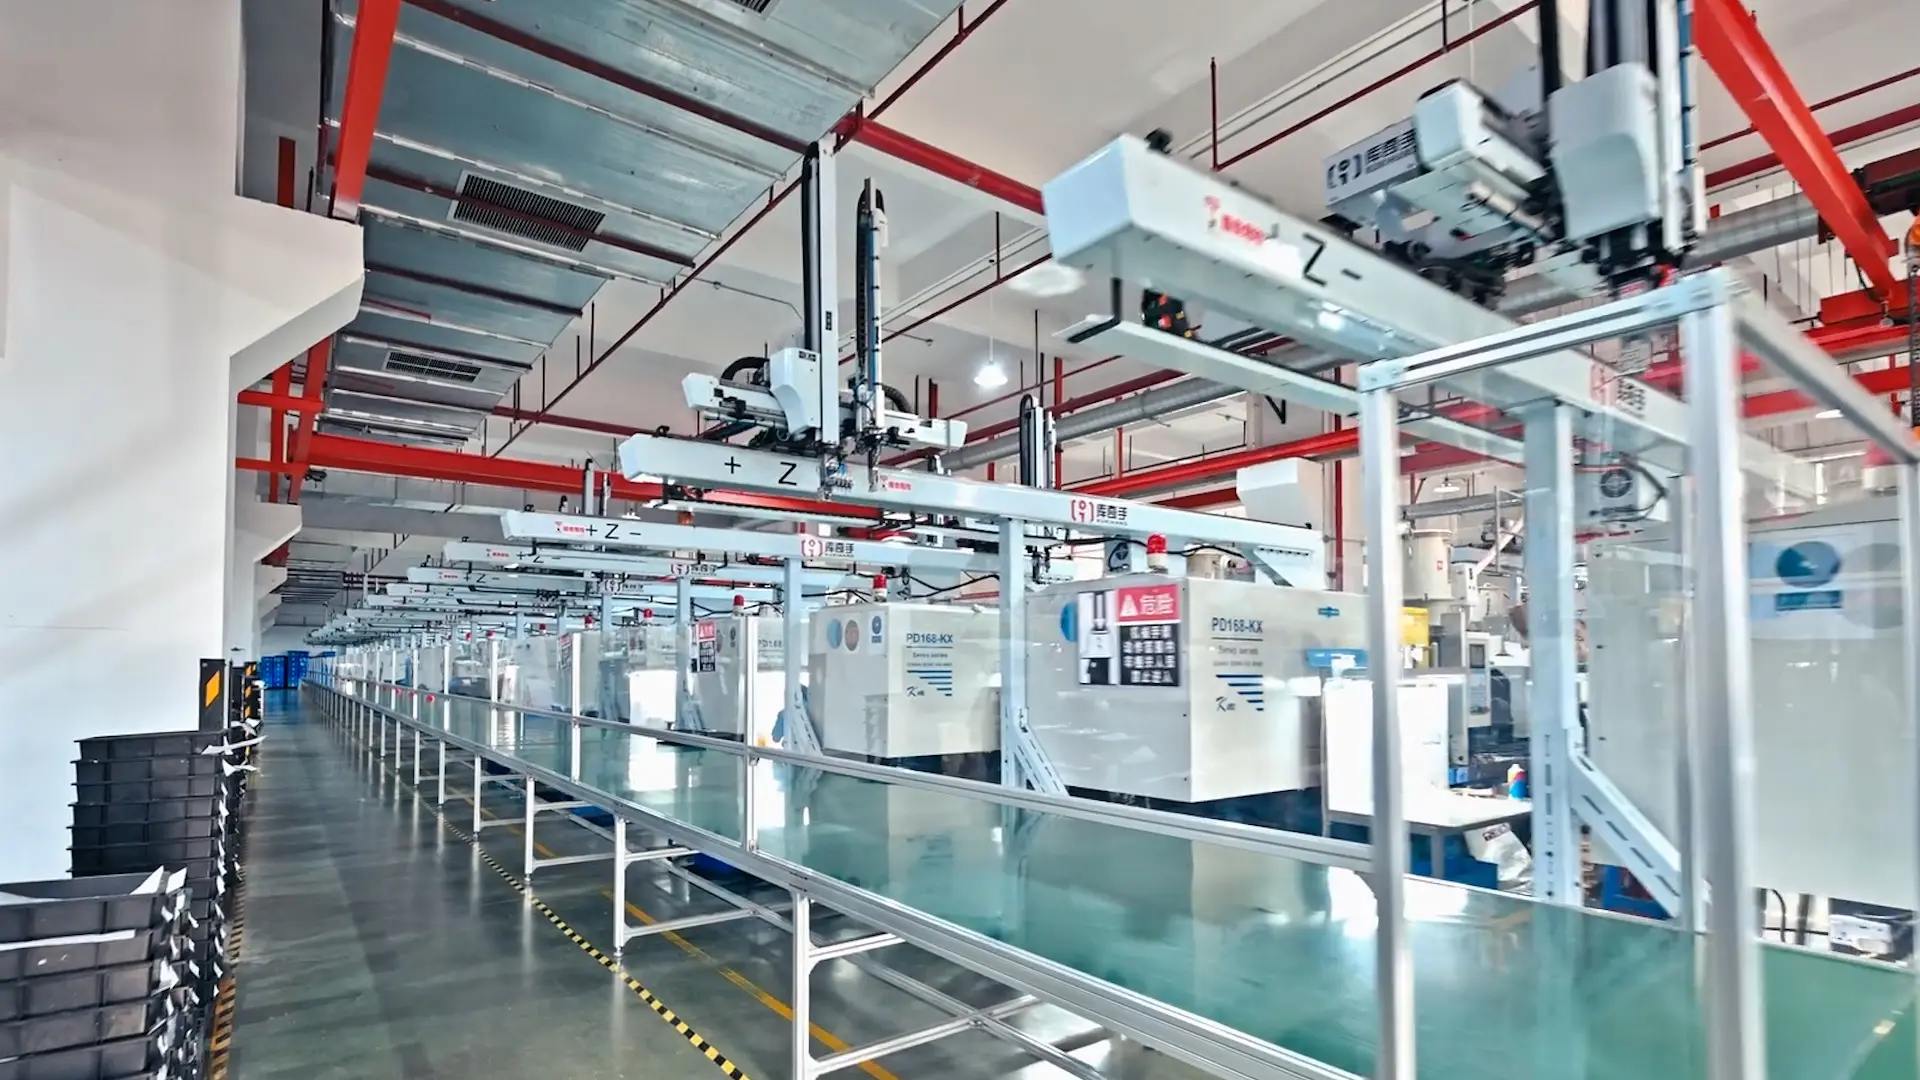
First, for the survival of the mold. In subsequent mass production, we need to use steel or copper molds for injection molding or slush casting. If your character’s structure is incredibly complex with overlapping dead corners, liquid plastic simply cannot pour in, nor can it be pulled out.
Second, for the purity of color. Imagine if a character’s white shirt and black suit jacket are fused together. When the painter sprays the black, there is a massive chance the paint mist will splatter onto the white shirt. Only by splitting them into separate parts, painting them individually, and then assembling them can you get that flawless, razor-sharp paint finish.
Of course, taking it apart is easy; the real art is putting it back together seamlessly. We design incredibly precise pegs and holes at the cuts, ensuring they bite together perfectly with a “click” during assembly. Regarding the control of part assembly seams, you absolutely need to understand The Secrets of V-Cut Joints in Art Toy Assembly.
The First Physical Heartbeat: SLA 3D Printing and Endless Sanding
When the part-splitting plan is finalized, your design is finally ready for its first breath in the physical world.
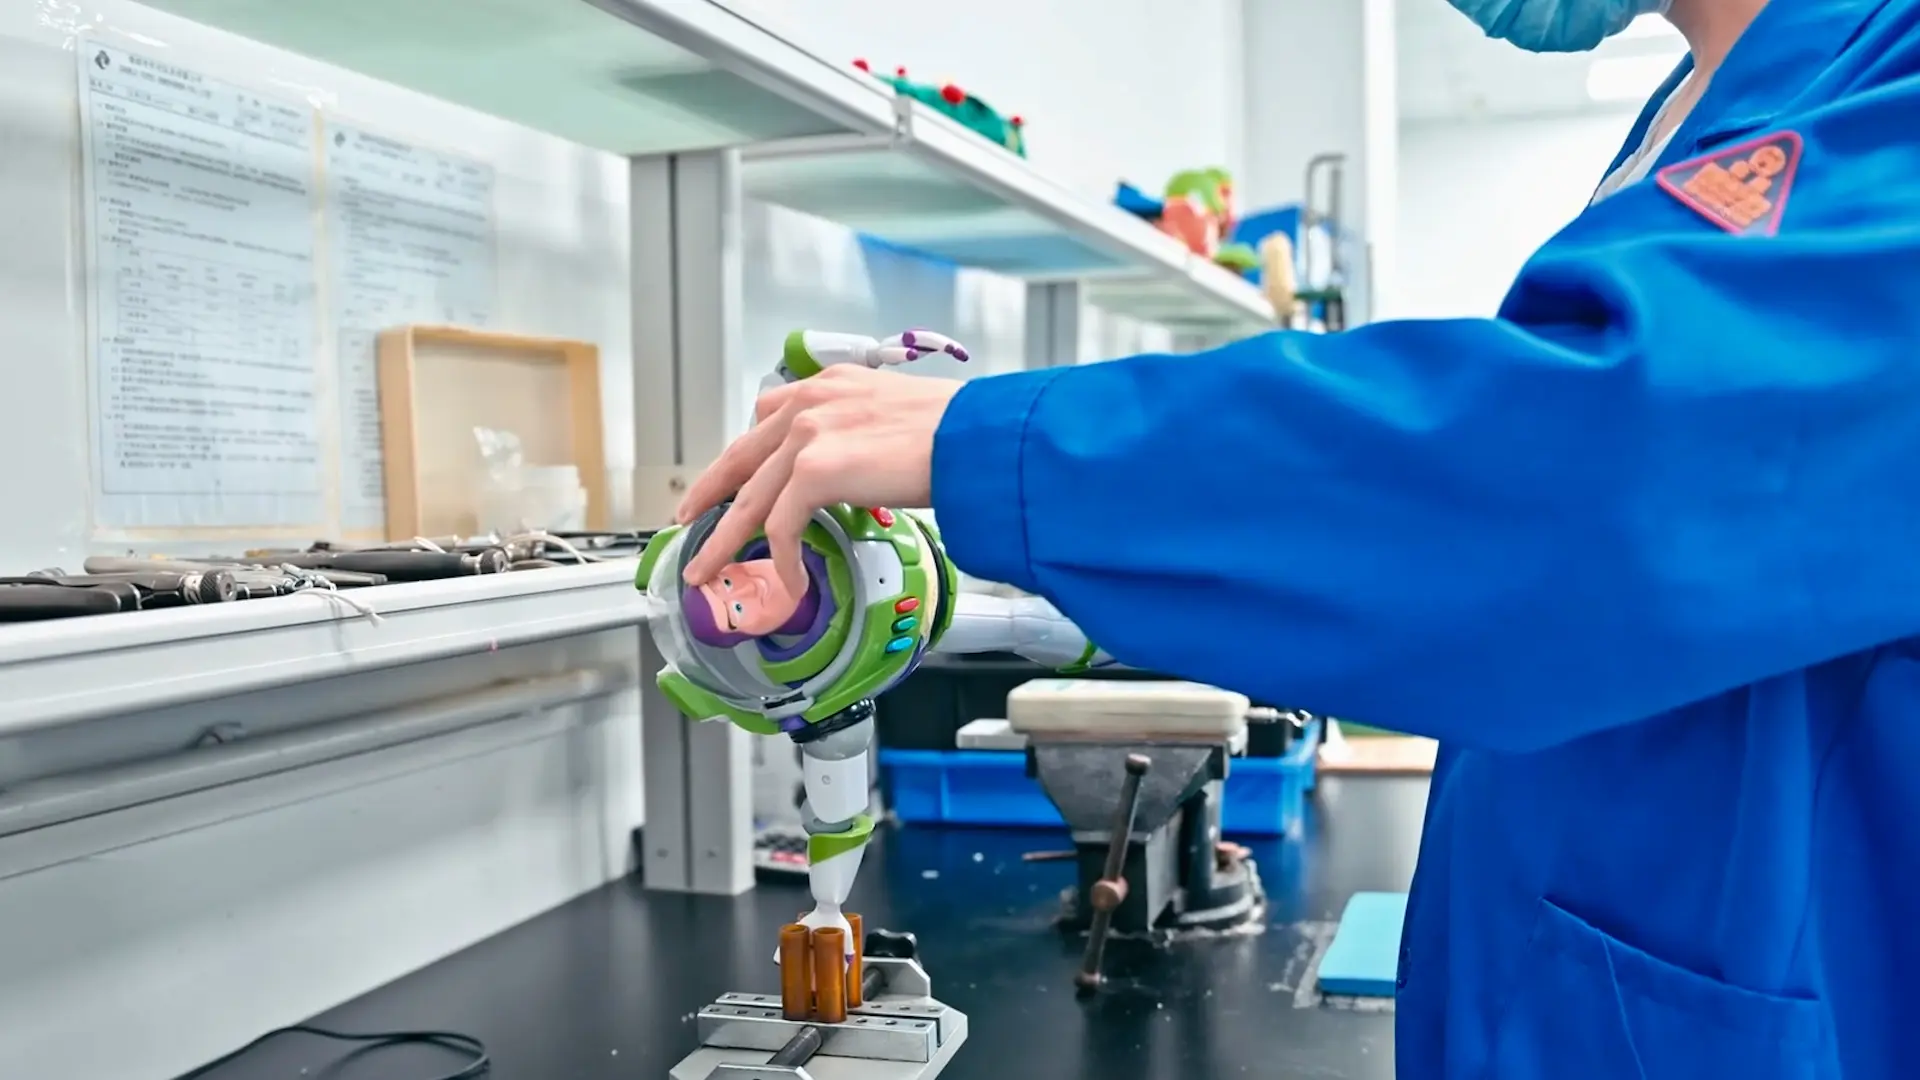
We send the 3D files to high-precision, industrial-grade SLA (Stereolithography) resin 3D printers. A few hours later, accompanied by the distinct chemical scent of resin, your character slowly rises from the liquid pool. At that moment, it truly feels like witnessing the birth of life.
But do not celebrate just yet. The freshly printed 3D parts are nowhere near as glamorous as what you saw on your screen.
If you look closely with a macro lens, you will find the surface covered in microscopic, staircase-like layer lines, along with dense, dot-like marks left by the support structures. If you paint directly over this surface, your premium art toy will look like a potato.
This is when the incredibly focused sanding masters in the MIHOX workshop take the stage.
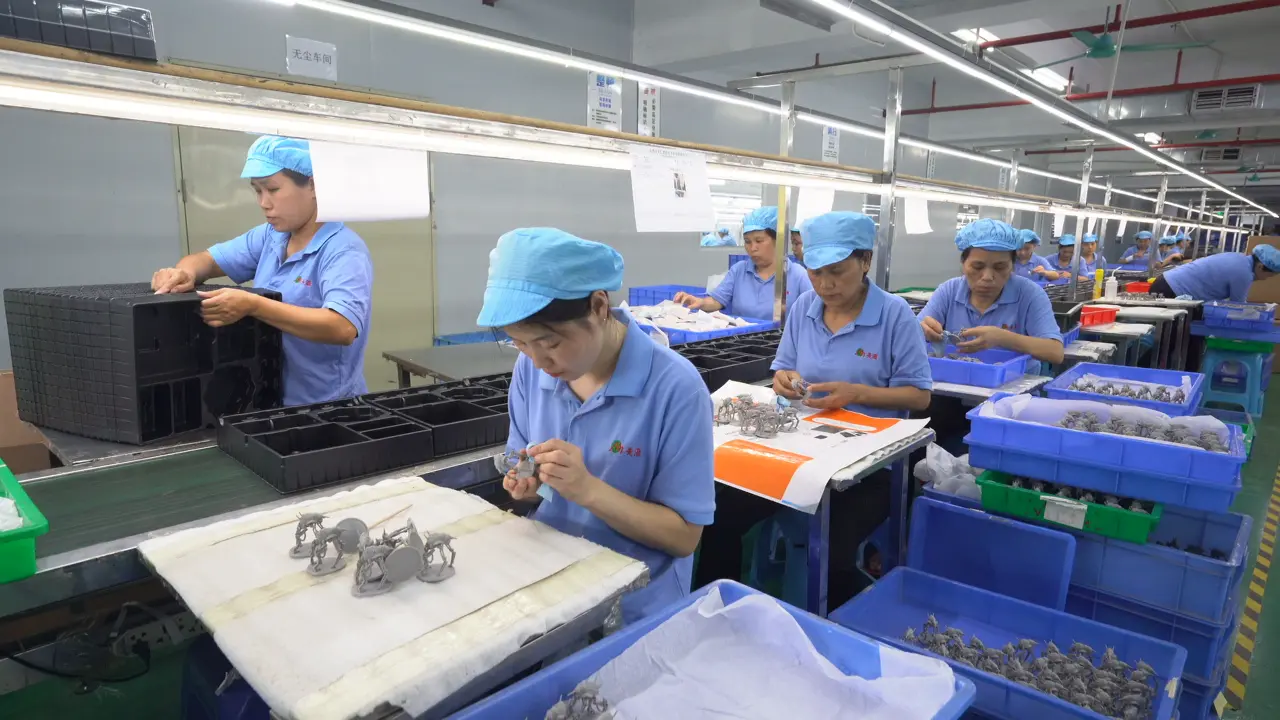
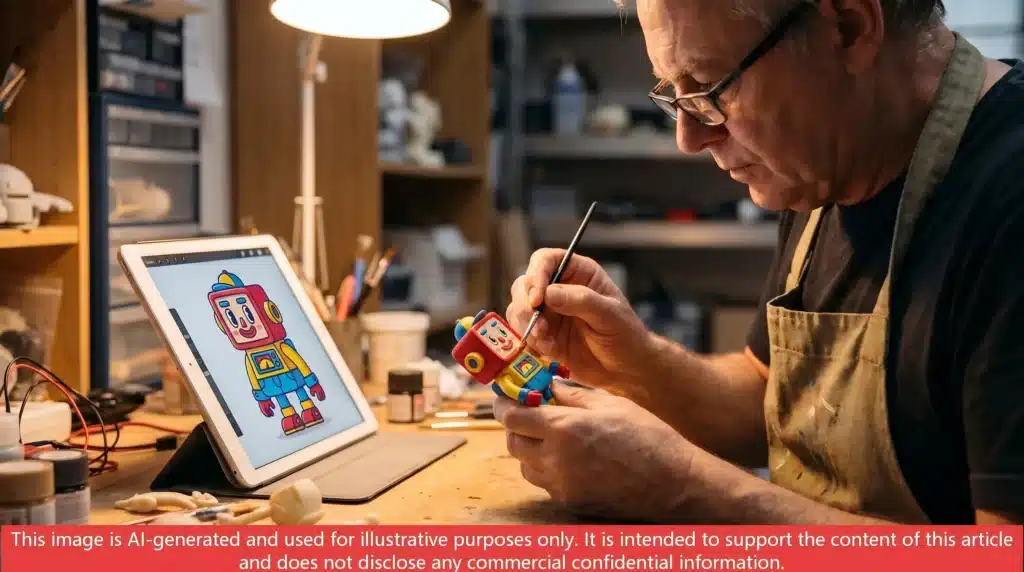
This is a highly tedious yet incredibly sacred ritual. The masters use sandpaper of varying grits from coarse to fine, rubbing back and forth over this tiny resin model. Amidst the flying dust, relying purely on the acute tactile feedback of their fingertips, they slowly smooth out the flaws left by the machine until the entire surface becomes as smooth as a peeled hard-boiled egg.
No machine can replace this step. A massive part of the prototyping fee you pay the OEM factory goes directly into buying the patience and muscle memory in the fingertips of these artisans.
Color Across Dimensions: The Birth of the Paint Master
After 3D sculpting, part splitting, printing, and hand sanding, we finally get a flawless blank prototype. The next mission is to give it back the soul from your 2D artwork: the color.
Here lies another massive trap waiting for us.
When you draw on a computer screen, you are using the RGB color mode. That is light shooting directly into your eyes—it is incredibly bright, translucent, and highly saturated. But in the workshop, we use physical paints, which rely on reflecting ambient light to show color.
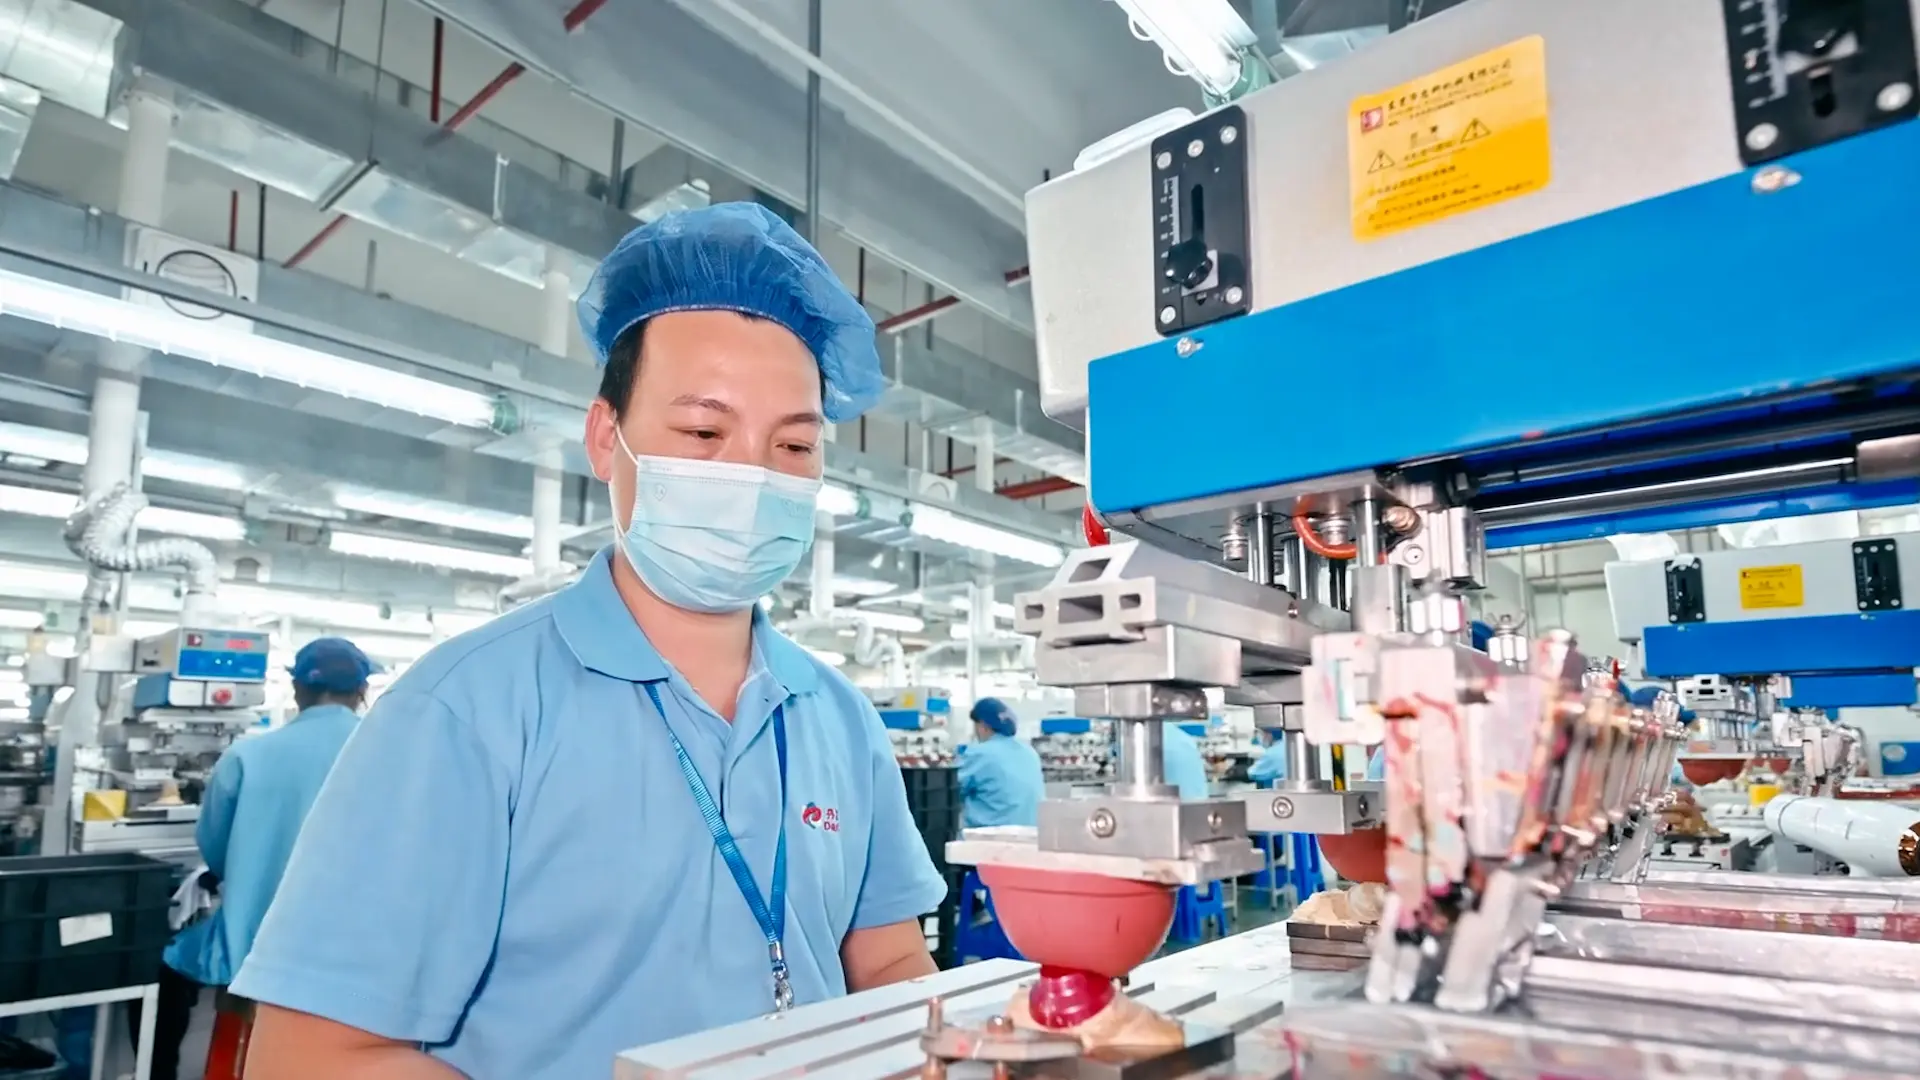
When you ask us to spray the physical object with that “glowing neon pink” from your screen, we are facing an extreme tug-of-war in chemical color mixing. Painters must continuously layer topcoats over primers, using highlighting and shading techniques to physically “fake” the lighting and shading textures you drew in your 2D illustration.
After endless rounds of color matching, masking, and hand-painting details, the 3D printed part is finally given complete life. We call this the “Paint Master.”
This master sample is absolutely sacred. It is not just the ultimate 3D evolution of your 2D design; it is the “sole law” that tens of thousands of mass-produced toys on the assembly line must strictly obey.
Actionable Anti-Pitfall Guide for Indie Creators
After seeing all these brutal tests from virtual to reality, how should you prepare the next time you send us a 2D vector file for 3D prototyping?
I have summarized three incredibly useful tips for you:
First, please provide complete turnaround views. Do not just toss over a handsome three-quarter profile shot. Try your best to draw the front, side, and back views of your character, even if they are just simple line sketches. The more information you provide, the less our 3D modelers have to “guess,” and the higher the fidelity of the prototype will be.
Second, leave room for physical compromises. If our engineers tell you that your character’s two incredibly thin ankles absolutely cannot support its massive body, please trust their professional judgment. Allow us us slightly thicken the ankles for you, or add a clear support rod. This is vastly better than having the entire batch collapse after reaching your players’ hands.
Third, maintain a continuous dialogue with the factory. Prototyping is never a one-way “throw the files over and wait for the delivery” process. It is a highly integrated, two-way journey. At MIHOX, we take screenshots and confirm with you at every critical milestone during 3D modeling. Keep an open mind and communicate often, and you will reap surprises that exceed your expectations.
Frequently Asked Questions (FAQs)
- How long does it typically take from submitting a 2D drawing to receiving a physical 3D Paint Master? This depends on the complexity of your character design. Generally, 3D modeling and gravity adjustments at MIHOX take about 7 to 10 business days, during which we will repeatedly confirm details with you. Once the 3D file is approved, part splitting, 3D printing, purely manual sanding, and final fine painting usually take another 10 to 15 business days. Therefore, a complete, high-quality prototyping cycle takes roughly 3 to 4 weeks.
- If I have zero knowledge of 3D modeling software, can the OEM factory make the toy just by looking at my 2D sketches? Absolutely. This is exactly the core value of a full-stack B2B art toy OEM factory like MIHOX. You just need to provide clear 2D design drawings (preferably turnaround views from different angles). Our experienced in-house 3D sculptors can perfectly “translate” your artistic intent, accurately extruding it from a 2D space into a 3D physical model that meets physical manufacturing standards.
- Why does the 3D printed blank prototype feel slightly “chubbier” than the character I designed in the 2D drawing? This is often due to engineering compromises. In a 2D drawing, you can freely sketch incredibly thin, fragile ankles or necks. But in the real physical world, if load-bearing parts are too thin, the toy will easily snap or fail to stand during mass production. Therefore, mold engineers intentionally slightly thicken these fragile areas during the 3D modeling phase to ensure structural stability, which might make it look slightly fuller visually.
- The colors on my 2D vector are extremely vibrant. Can the factory guarantee the 3D painted product will have 100% zero color discrepancy? This is an issue that challenges physical limits. The light emitted by a computer screen (RGB) and the light reflected by paint (CMYK/Pantone) are fundamentally different mediums. While achieving absolute optical 100% consistency is impossible, our senior color mixers use incredibly complex painting techniques—like multi-layer color stacking, fluorescent paints, or special gloss topcoats—to infinitely approach and physically reproduce the emotional color and visual impact of your 2D design.
- Why does the factory insist on chopping up my complete character (part splitting) during the 3D prototyping phase? Part splitting is a wildly crucial step that determines the final quality of the art toy. First, an overly complex single-piece sculpt cannot be demolded from mass-production steel or copper molds. Second, separating parts with different colors, like hair and clothing, prevents painters from cross-contaminating colors during spraying. This ensures every part’s edge is razor-sharp and clean, ultimately presenting a flawless, seamlessly assembled mass-production finish.