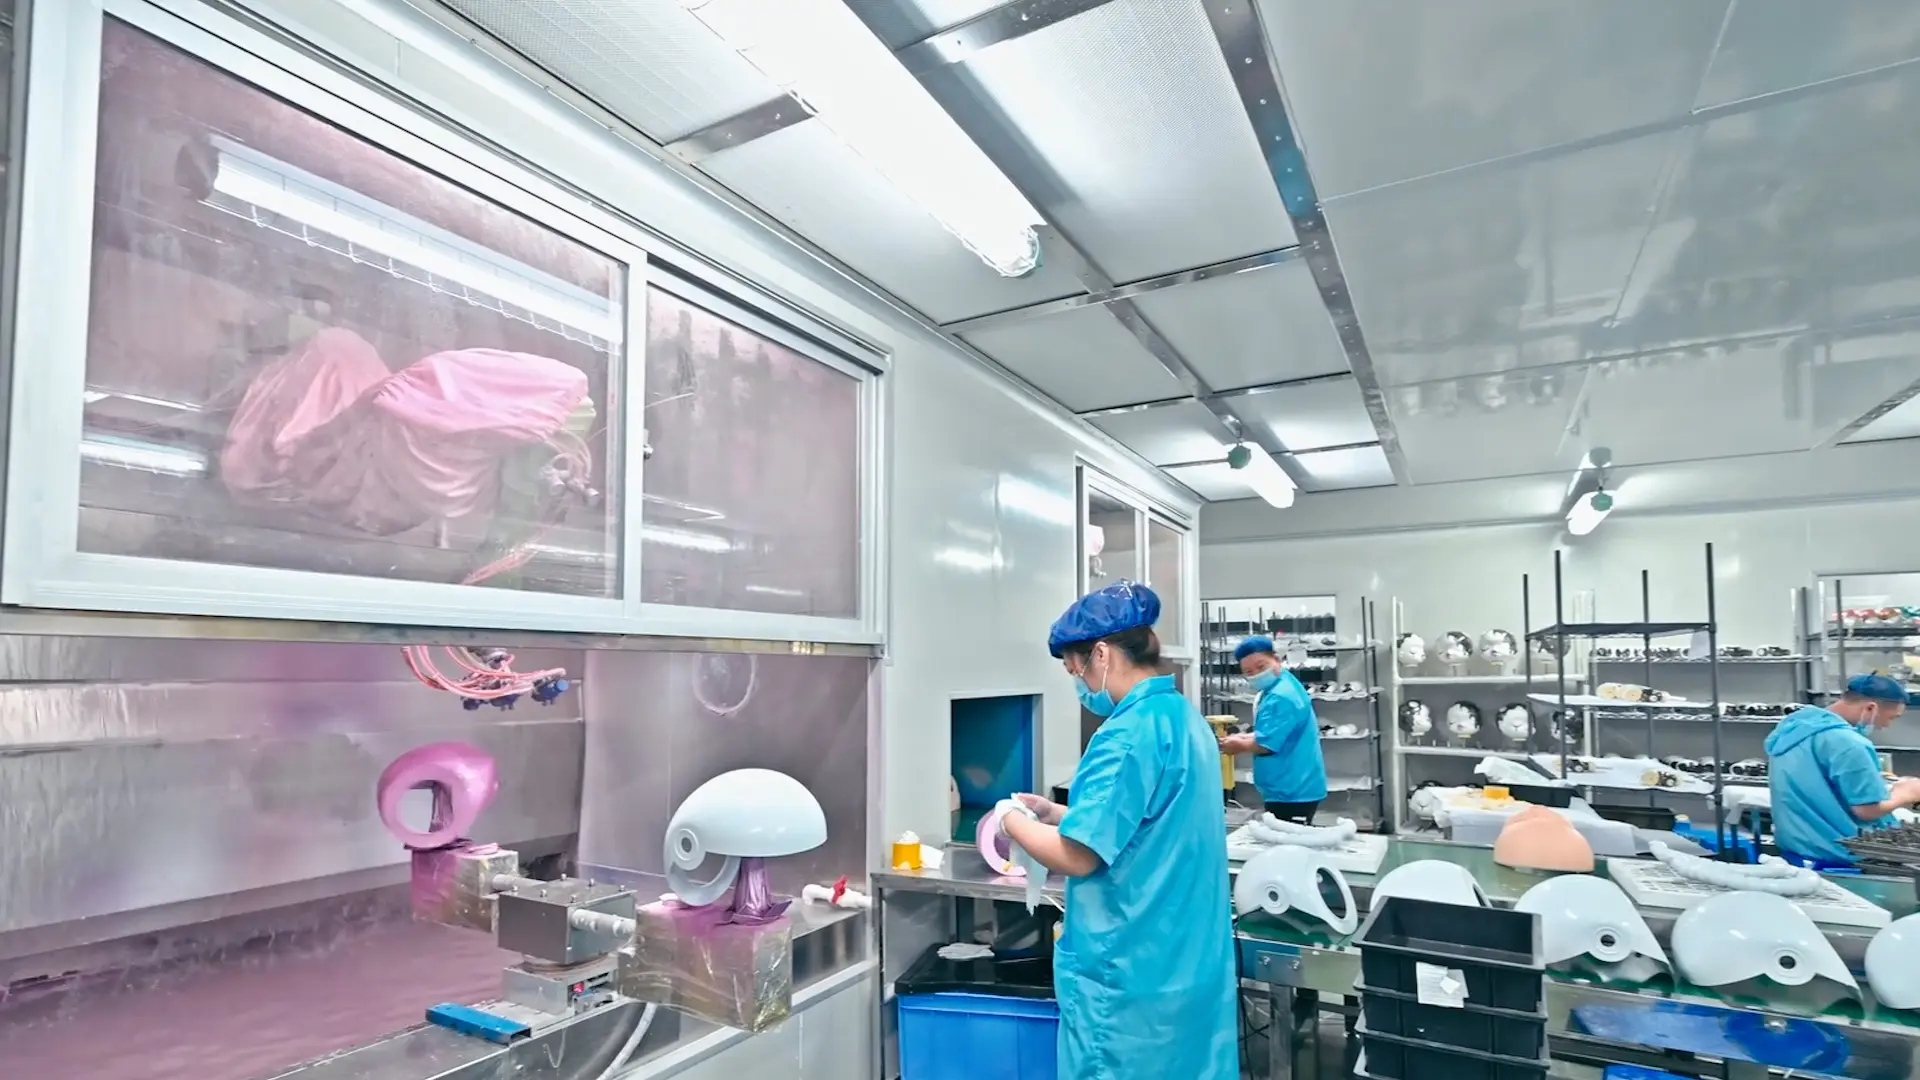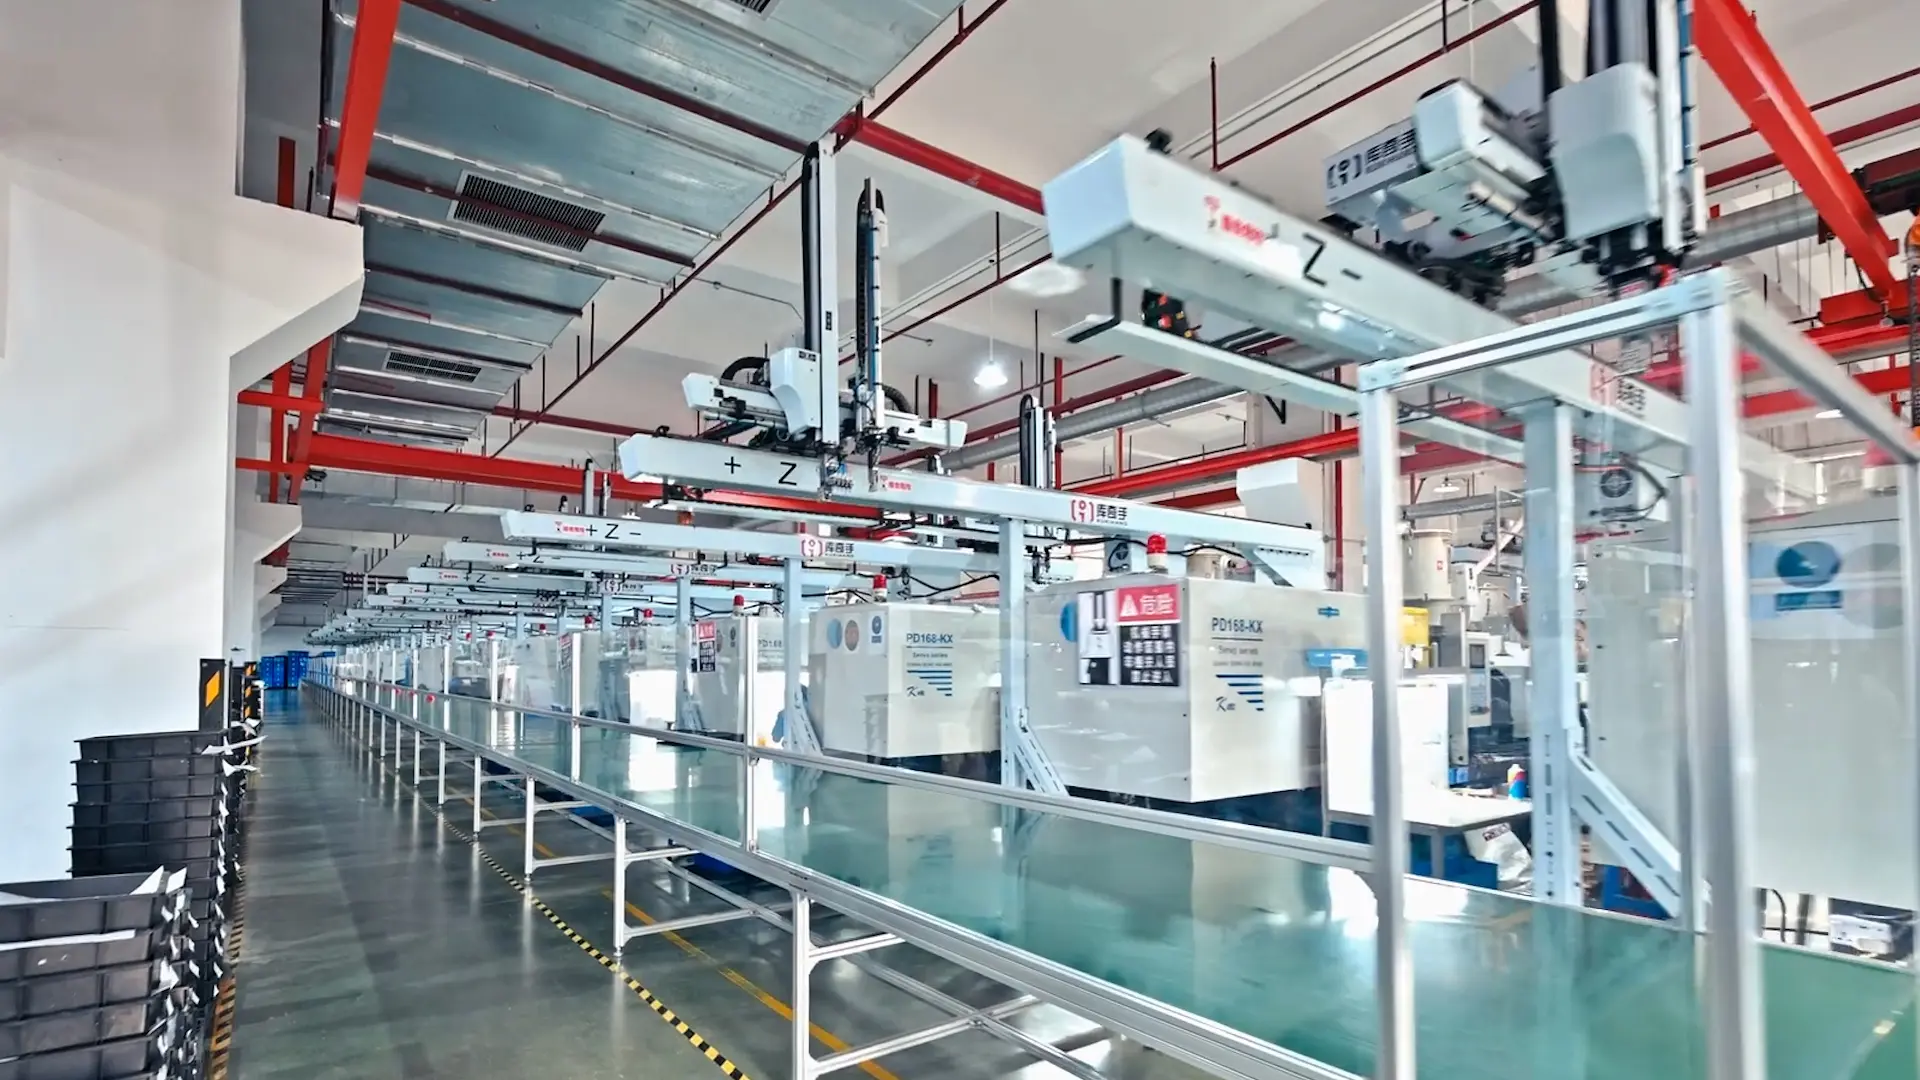

Imagine this scenario. You have spent months sketching, revising, and obsessively perfecting your original character. Your 3D files are absolutely flawless. You finally send them off to a manufacturing partner, eagerly waiting for that exciting production quote. A few days pass, and the email pings. You open it up, scroll past the unit costs down to the tooling section, and—bam. Two thousand dollars. For a single mold. For a five-inch vinyl toy.
Honestly, your jaw probably hit the floor.
You are definitely not alone in that reaction. I see this exact same sticker shock from indie artists, toy brands, and even seasoned IP creators all the time. That initial surprise is incredibly real. You might be sitting there thinking, “It’s literally just a tiny piece of plastic! Why on earth does the metal cup used to make it cost as much as a used car?”
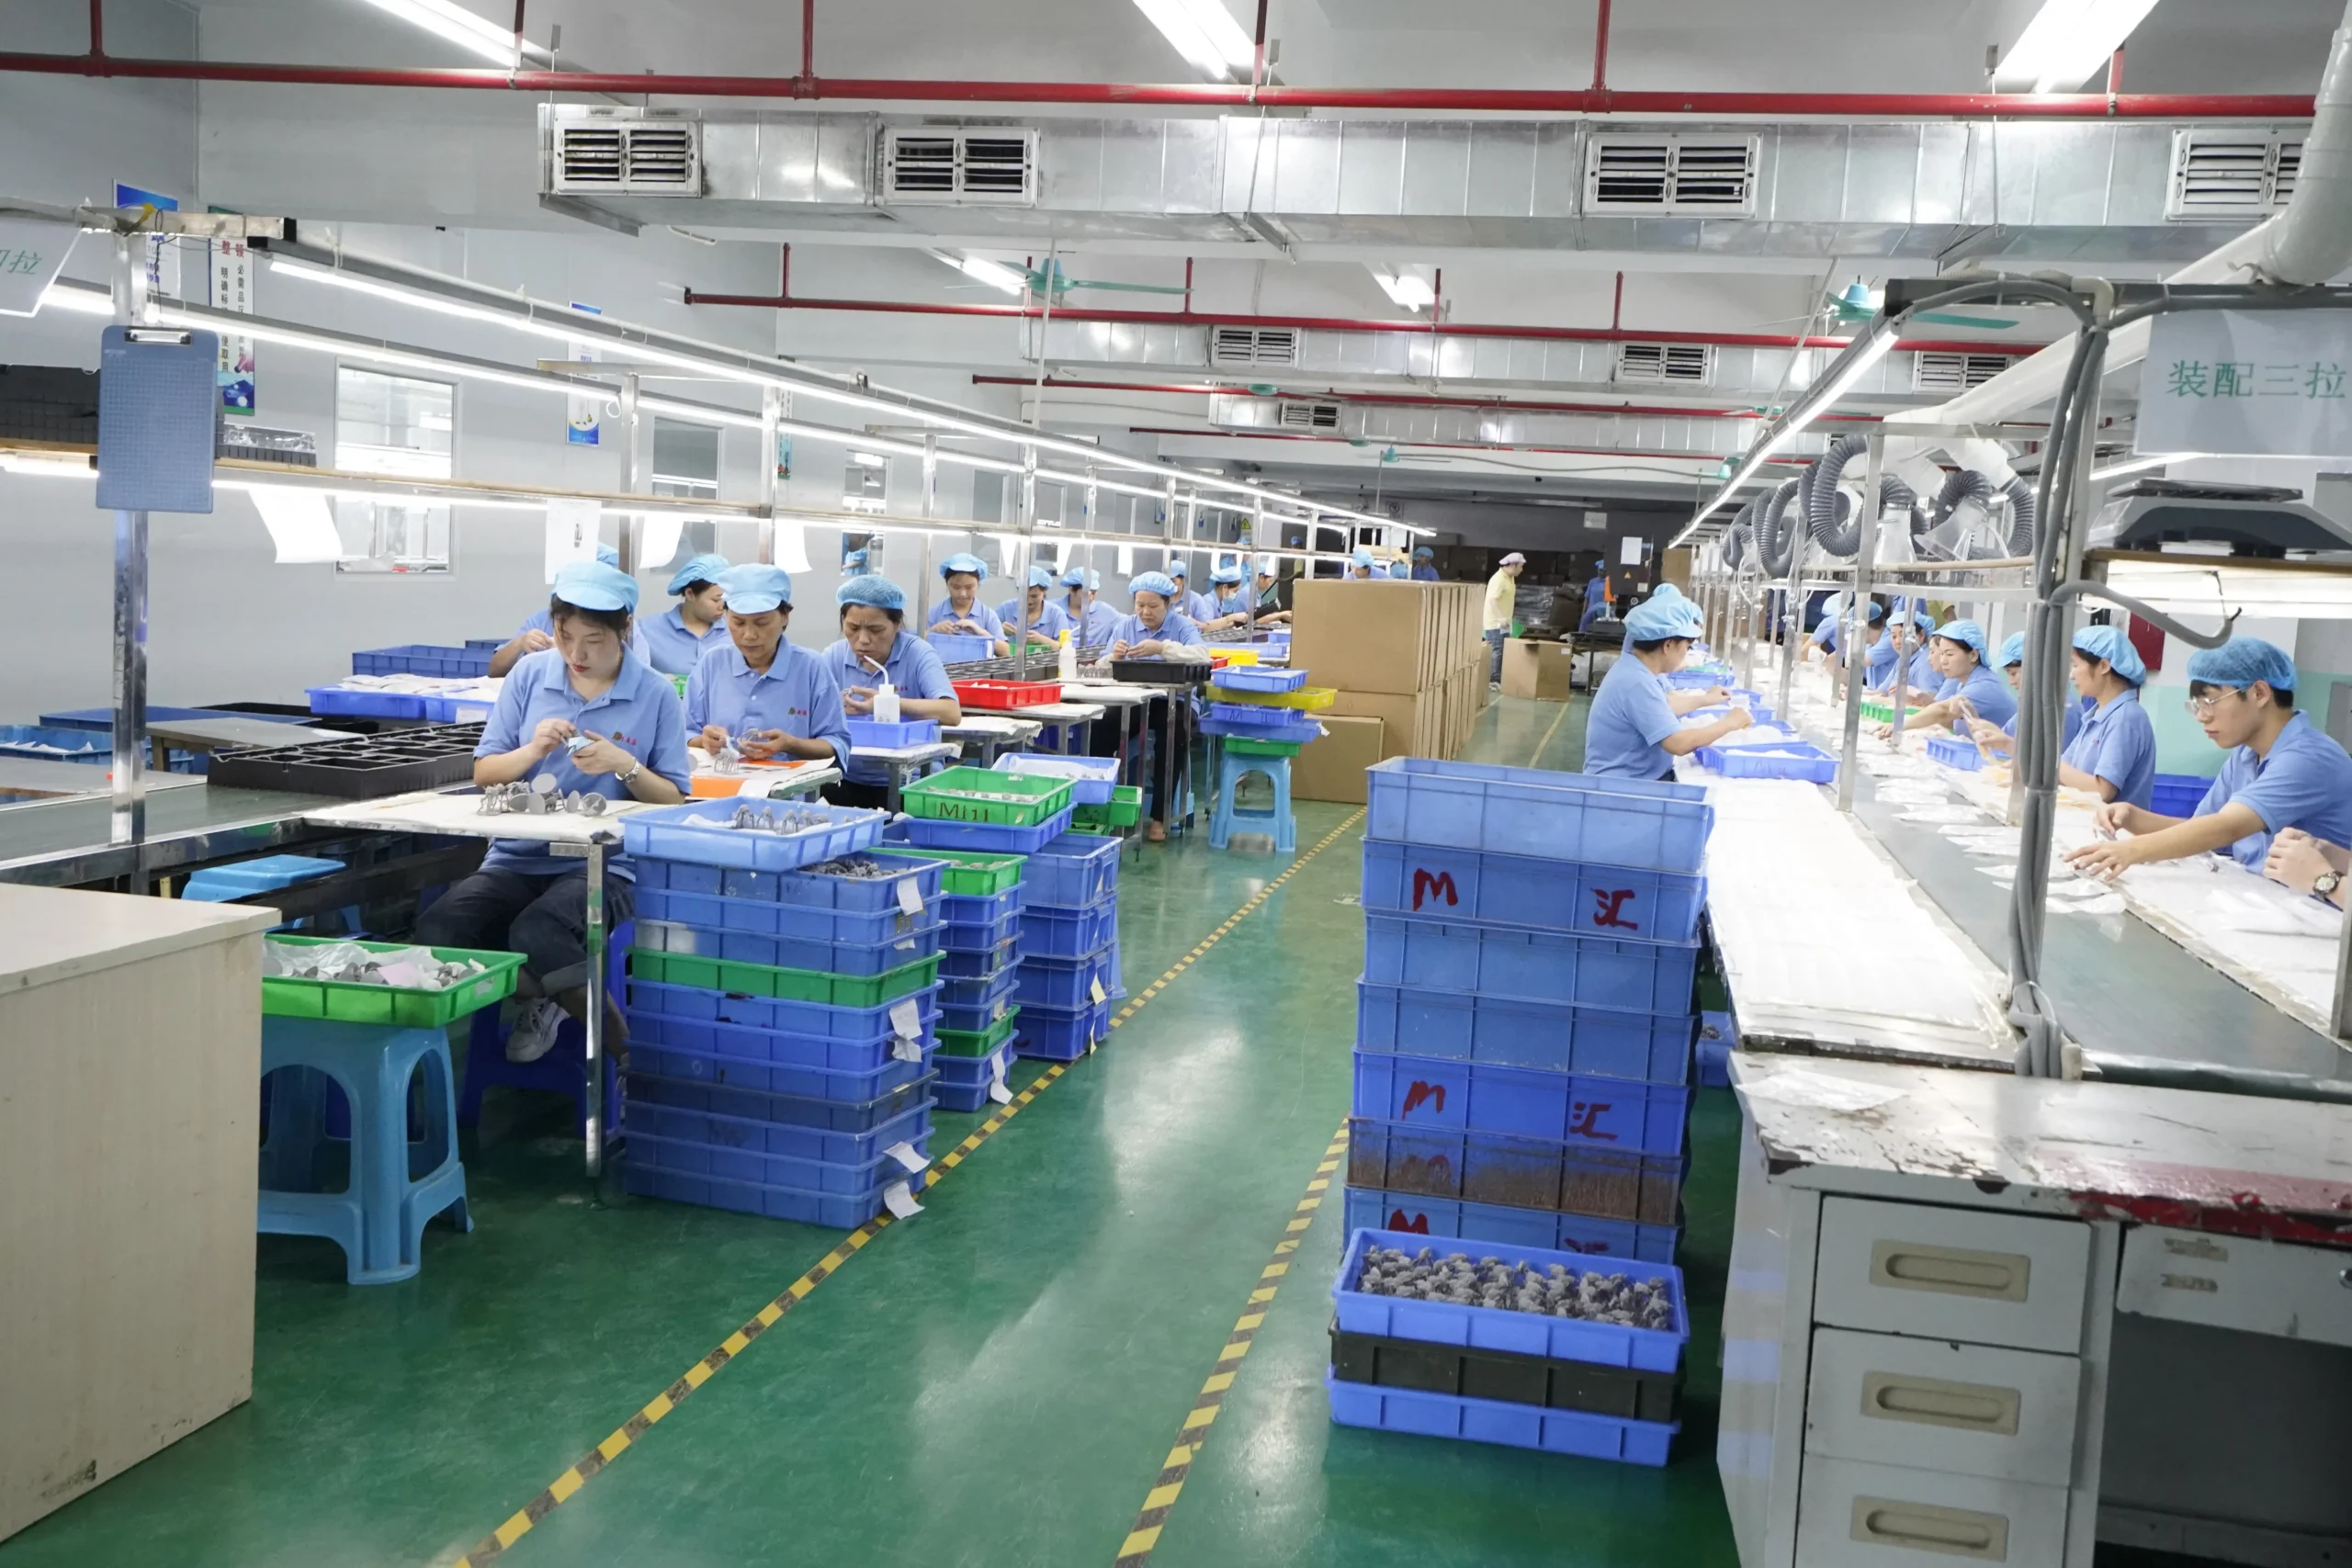
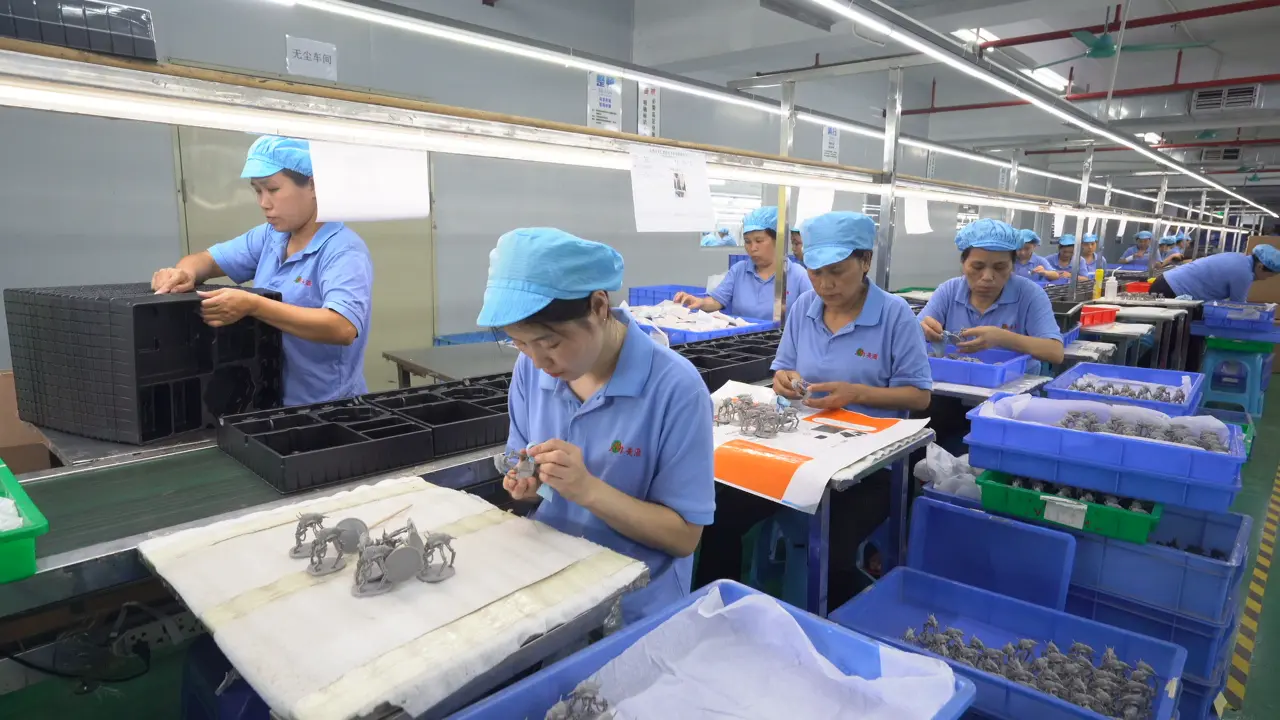
Let me explain. It is incredibly easy to look at a smooth, finished soft vinyl figure and assume it was just quickly popped out of a cheap silicone tray. But creating professional, mass-production-ready slush casting molds is a highly scientific, intensely labor-driven process. You are not just paying for a heavy hunk of metal. You are paying for precision engineering, applied chemistry, and dozens of hours of highly skilled manual craftsmanship.
So, grab a coffee. We are going to rip the band-aid off and look exactly at where your money goes when you pay for professional art toy tooling.
The “Sticker Shock” is Real (But So is the Engineering)
Let’s get one thing straight right away. Manufacturing art toys is not like baking sugar cookies. You cannot just buy a cheap cookie cutter and start rapidly punching out thousands of identical, perfect shapes. When we talk about “tooling” in the high-end soft vinyl (or Sofubi) industry, we are talking about creating a master production mold. This specific mold has to withstand extreme heat, constant physical handling, and the intense chemical curing process of liquid PVC.
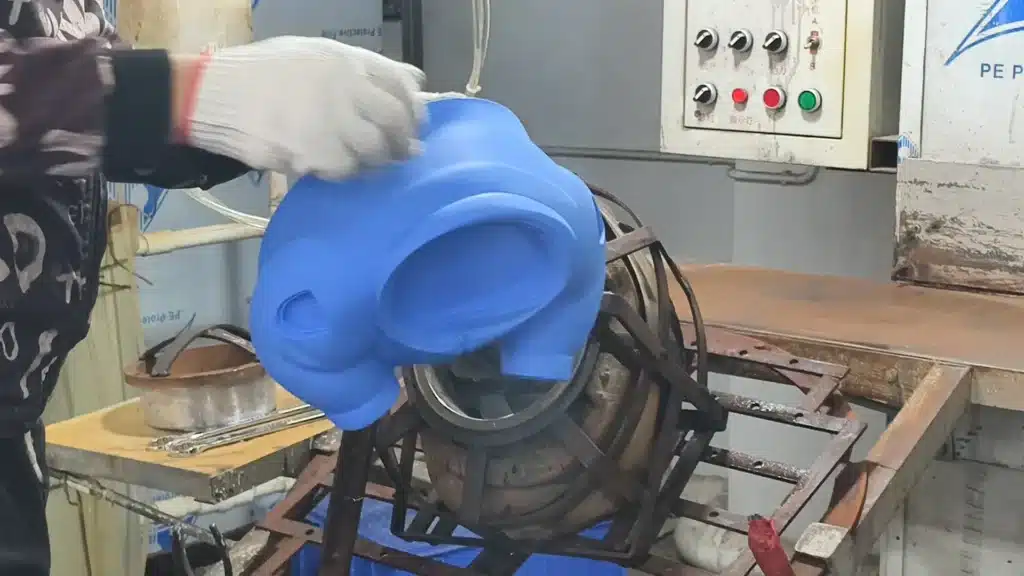
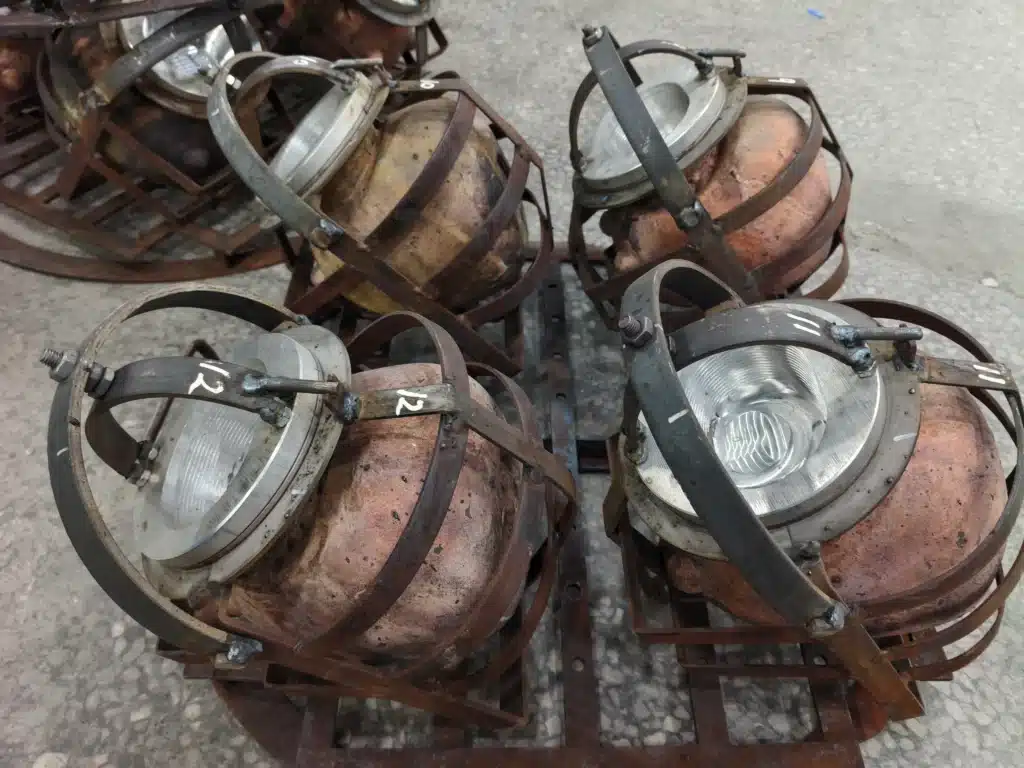
If you are coming from the DIY resin casting community, you might be used to pouring silicone molds that cost maybe fifty bucks to whip up in your garage. But here is the catch. Silicone molds degrade. Fast. After twenty or thirty pulls, the sharp details get muddy, the silicone physically tears, and your beautiful designer toys start looking like melted candles.
Soft vinyl manufacturing requires heavy-duty copper molds. These copper molds are virtually indestructible under normal factory conditions. They can produce thousands of identical figures without losing a single eyelash of detail. But getting from your digital ZBrush file to that shiny, durable copper mold? That is quite a journey.
Let’s Break Down That $2,000 Price Tag
You know, people often ask me for a simple, straightforward cost breakdown. They want a neat little pie chart showing exact percentages. The truth is slightly messier and depends heavily on your specific design, but let’s walk through the actual factory floor process. This behind-the-scenes look will help you see exactly why tooling a 5-inch figure costs what it does.
1. The 3D Print and The Wax Master (The Unsung Heroes)
Everything starts with your 3D file. We print it using ultra-high-resolution resin printers to capture every tiny detail. But we cannot just use that brittle resin print to make a metal mold. The resin would instantly melt or severely distort during the intense tooling process.
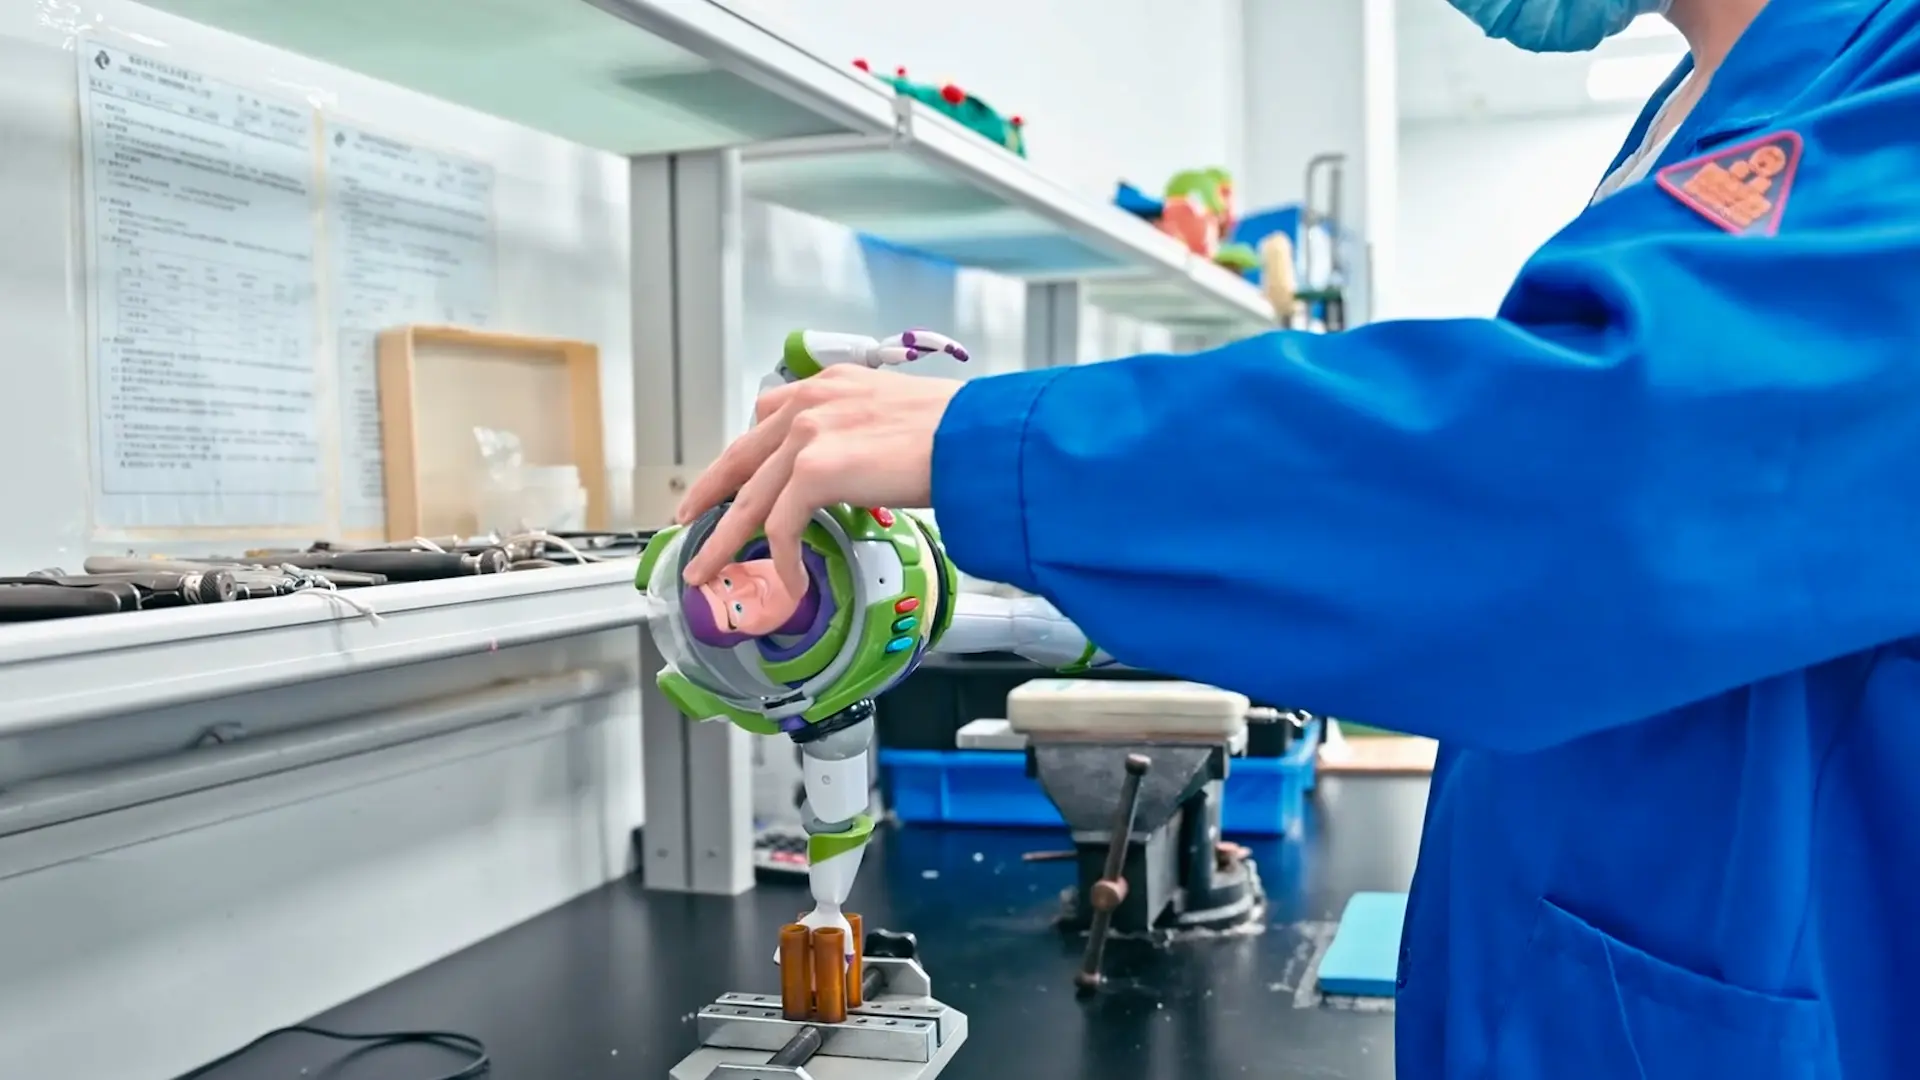
Instead, our engineers have to create a “wax master.” They cast your digital design in a specialized, highly durable industrial wax. Why wax? Because it handles the next chemical steps perfectly. But wax is fragile. A master factory technician has to sit down at a brightly lit bench with magnifying glasses and tiny, dental-like sculpting tools to manually clean up the wax master. They smooth out microscopic layer lines from the 3D print. They sharpen dulled edges. They make sure the draft angles—those slight tapers that allow the hot toy to be easily pulled out of the mold later—are totally flawless.
This step alone takes hours of highly skilled, patient labor. If the wax master has a tiny flaw, every single one of your 10,000 mass-produced toys will have that exact same flaw. No pressure, right?
2. The Electroplating Bath (Pure Chemistry)
Once the wax master is perfect, it takes a bath. Literally. It goes into a massive chemical electroplating vat. We pass steady electrical currents through a heated liquid solution filled with floating copper ions. Slowly—very, very slowly—those copper ions physically bind to the surface of the wax master.
This is not a quick five-minute dip. The wax master stays submerged in that chemical bath for days, sometimes well over a week, slowly growing a thick, rigid shell of copper around itself. Once the copper is thick enough to withstand daily factory abuse, we pull it out and carefully melt away the wax trapped inside.
What you are left with is a perfect, hollow copper negative of your toy. This process requires precise temperature control, expensive chemical solutions, and constant 24/7 monitoring. If the facility’s electricity fluctuates even slightly, the copper can grow unevenly, completely ruining the mold. You are heavily paying for the chemistry, the facility overhead, and the agonizing wait time.
3. Engineering the V-Cut Joints
Does your 5-inch toy have turning arms? A rotating head? Those joints do not just magically work on their own.
In the soft vinyl world, we use something called a V-cut joint. It is a brilliant, traditional piece of engineering that allows two separate vinyl pieces to snap together tightly and rotate without suddenly falling out. But designing a V-cut joint that works smoothly is incredibly difficult. If the factory’s tolerance is off by even a fraction of a millimeter, the arm will either be too tight to move, or so loose it falls off the second a customer picks it up.
Our tooling engineers spend a significant chunk of time calculating these complex joint tolerances long before the metal mold is even made. When you pay that tooling fee, you are directly paying for peace of mind. You are ensuring your future customers will not complain on social media about floppy arms or heads that refuse to turn.
Wait, Doesn’t My Toy Have Multiple Parts?
This right here is the biggest “aha” moment for most brand owners. You look at your beautiful 5-inch character and see one single toy. The factory manager looks at it and sees six completely separate parts.
A standard standing figure usually consists of a head, a torso, two arms, and two legs. That is six parts. Each of those individual parts needs its own dedicated cavity in the mold. Sometimes, depending on the sheer complexity of the shape, they need entirely separate, standalone molds.
If your original character has a crazy spiked haircut, a chunky dinosaur tail, and is holding a tiny, detailed weapon, your part count completely skyrockets. More parts mean more wax masters, bigger electroplating baths, and way more engineering time to make sure all those separate pieces fit together perfectly after they inevitably shrink during the cooling process.
Speaking of shrinkage, liquid vinyl shrinks by about 3% to 5% after it comes out of the hot mold and cools down. The factory has to mathematically upsize your digital 3D file before printing the initial wax master so the final, cooled toy shrinks down to your exact requested 5-inch size. It is a massive, stressful math puzzle.
The Trial Runs: T0, T1, and the Quest for Perfection
Here is another major reason tooling is expensive: the rigorous testing phase. The process absolutely does not end the second the shiny copper mold comes out of the chemical bath. Actually, the real anxiety begins right there.
The factory will perform what we call a “T0” (Tooling Zero) test. They heat up the brand new mold, pour in the liquid PVC, bake it, and nervously pull the very first toy. Almost always, the T0 sample is slightly flawed. That is just the harsh reality of physics. Maybe the vinyl pooled too thickly in the character’s feet, making the toy uneven and unable to stand. Maybe a pocket of air got trapped in a tiny spike on the character’s head, causing a hollow, fragile bubble.
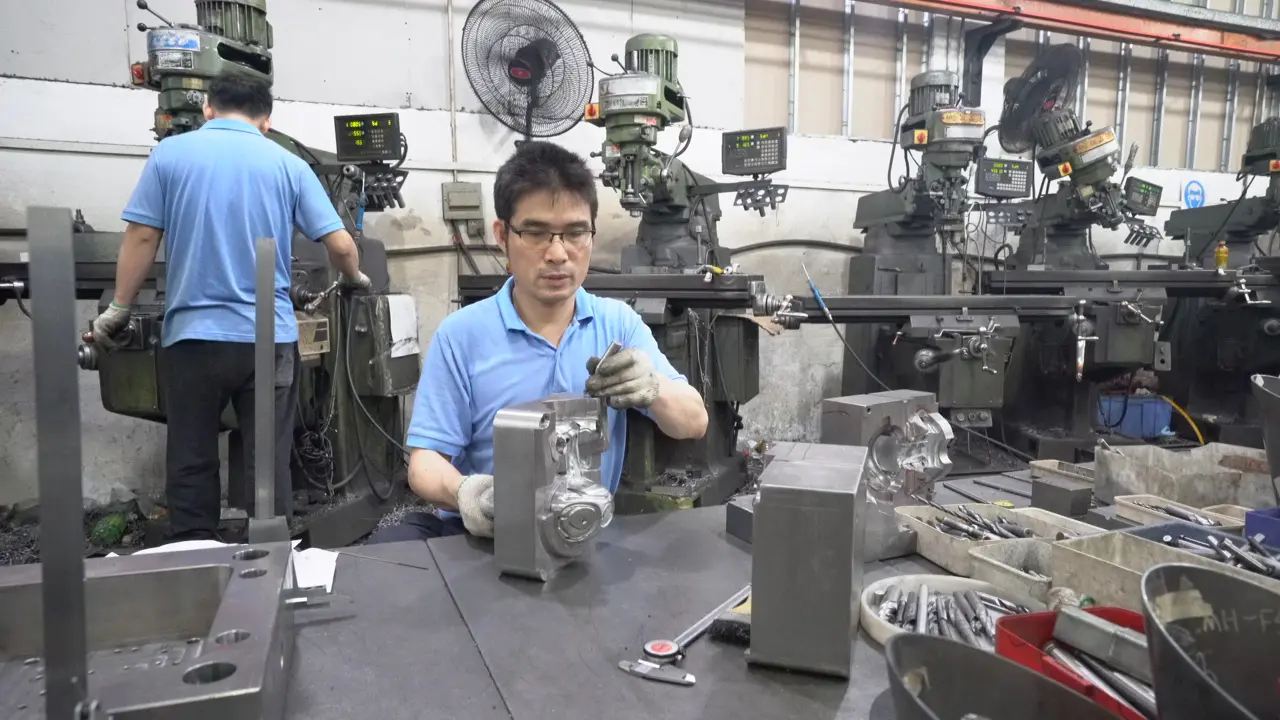
The engineering team then takes that flawed T0 sample, deeply analyzes the physics of the pour, and physically adjusts the copper mold. They might drill microscopic air vents to let trapped gas escape smoothly. They might adjust the thickness of the copper in certain areas so the heat distributes differently during baking.
Then comes the T1 sample. It will be better, but maybe the arm joint is still a tiny bit too tight. So, back to the metal bench for more micro-adjustments. This constant back-and-forth testing and tuning process is entirely baked into your initial tooling quote. You are paying for the factory’s hard-earned expertise in troubleshooting real-world physics until that mold produces a flawless pull every single time. If an overseas factory quotes you an incredibly low price, they are likely skipping these crucial testing rounds entirely. They will just ship you the flawed toys and lazily blame the defects on your 3D design.
The War Against the Seam Line
Have you ever bought a cheap plastic toy at a dollar store and noticed an ugly, sharp line running straight down the side of its face? That is called a seam line, or “flashing.” It happens when the two halves of a mold do not sit perfectly flush together, allowing pressurized liquid plastic to seep out into the tiny gap.
In the high-end designer toy market, seam lines are the ultimate enemy. Serious collectors absolutely despise them.
Slush casting copper molds are typically one piece with an open top, which inherently reduces gross side seams. However, for highly complex character shapes that require two-part molds or separate metal inserts, the engineering has to be completely flawless. Achieving a practically invisible seam line requires the copper mold pieces to mate together with microscopic precision. It requires heavy-duty locking clamps and perfectly calculated draft angles.
When you invest over two grand in a mold, you are essentially funding the war against flashing. You are paying for a factory to spend the extra hours ensuring those metal mold halves kiss together so tightly that not a single drop of liquid vinyl can possibly escape. If you truly want your IP to be perceived as a premium, high-value collectible, a seamless finish is completely non-negotiable.
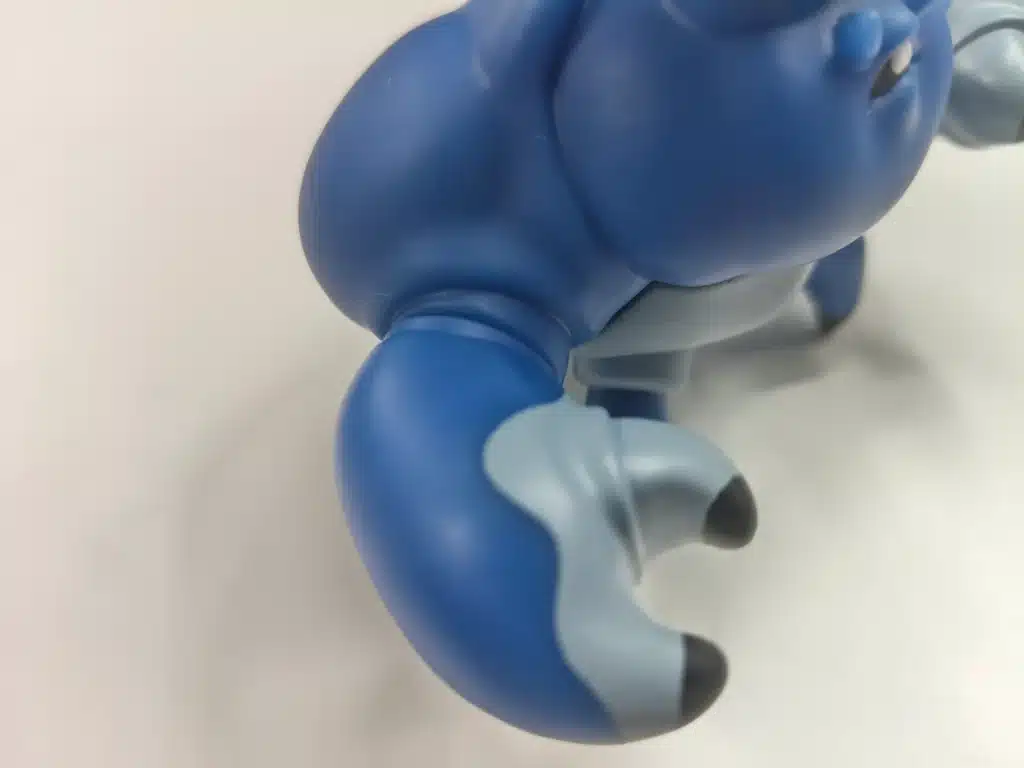
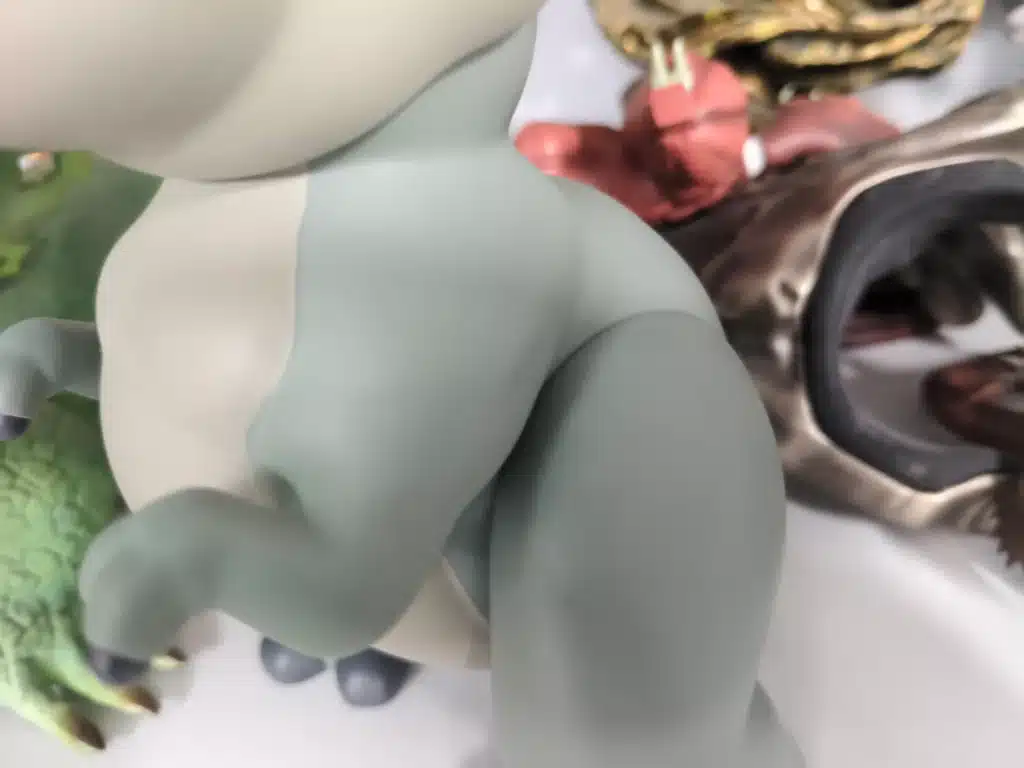
Can You Get a Mold for $800? (A Gentle Warning)
I know exactly what you are thinking right now. “I saw a random factory on Alibaba offering custom tooling for just $800! You guys are just grossly overcharging!”
Can you get a mold made for $800? Sure. Will you actually want to sell the toys that come out of it to your loyal fans? Probably not.
Here is the somewhat harsh reality of global manufacturing. Cheaper factories violently cut corners exactly where you cannot see them. They might drastically rush the electroplating process, resulting in a dangerously thin, brittle copper mold that literally cracks after 500 pulls. They might skip the manual wax cleanup entirely, leaving ugly 3D print lines clearly visible all over your final vinyl figures. Or worse, they might engineer the mold to only work with inferior, recycled PVC materials that smell terrible and warp if left near a sunny window.
A $2,000 mold is a direct investment in your IP’s long-term reputation. When a collector happily pays $60, $100, or even $200 for your limited edition art toy, they expect premium weight, flawless surface textures, and butter-smooth joints. You simply cannot fake quality. A cheap mold will aggressively haunt you through the entire production run with incredibly high defect rates, missed deadlines, and angry customer returns.
Soft Vinyl vs. Injection Molding: A Quick Cost Check
Let’s quickly put that $2,000 in a broader perspective. Sometimes, creators get slightly confused between soft vinyl slush casting and hard plastic injection molding (the heavy-duty process used for things like LEGOs and mass-market action figures).
If you wanted to make this exact same 5-inch toy using rigid ABS or PVC injection molding, the tooling cost would absolutely not be $2,000. It would be closer to $8,000, or perhaps even $15,000.
Injection molding requires carving massive, solid blocks of hardened steel using expensive CNC machines. Those steel molds have to handle thousands of pounds of injection pressure without warping. It is incredibly expensive to set up. That is precisely why injection molding is strictly reserved for massive, retail-level runs of 10,000 units or more.
Soft vinyl slush casting, on the other hand, is the absolute sweet spot for indie brands, artists, and limited IP merchandise drops. For a couple of grand, you get a beautiful mold that can safely produce 500 to 3,000 artisanal figures. When you compare it to the staggering cost of steel molds, copper slush casting molds are honestly a massive bargain.
Hidden Costs You Didn’t See Coming
Alright, let’s talk about the sneaky stuff. The frustrating things that suddenly bump up your quote when you aren’t looking.
First up: design complexity. A smooth, round character like a simple ghost or a coffee bean is remarkably easy to mold. The copper grows around the wax master evenly. The hot toy pulls out of the mold with zero physical resistance. But what if your character has deep, aggressive textures, overlapping dragon scales, or highly complex folds of winter clothing?
Deep textures create what engineers call “undercuts.” An undercut is a tricky spot where the cured vinyl gets physically trapped inside the rigid copper mold. When the factory worker tries to forcefully yank the hot vinyl out with pliers, it gets stuck, stretches horribly, and completely ruins the toy. To successfully solve this, the factory either has to ask you to simplify your design (which you obviously don’t want) or they have to create a much more complex, multi-part mold to safely release the toy. More complexity automatically equals more money.
Second: late-stage modifications. Let’s say we meticulously make the wax master, and you suddenly decide the character’s ears need to be 20% bigger. Wax can be tweaked, but it takes time and money. But what if you decide to change the design after the copper mold is fully grown? You are basically starting over from absolute scratch. That means paying for a second, brand new mold. Always, always lock down your 3D files before hitting the green light on tooling.
How to Keep Your Tooling Costs from Skyrocketing
Okay, so $2,000 is a fair baseline for a standard 5-inch figure. But how do you stop that scary number from ballooning to $4,000? You absolutely have to design with manufacturing constraints in mind.
First, strictly consolidate your parts. Does your character really need a separate, rotatable tail, or can the tail be sculpted neatly flush against the back of the legs? Every single time you merge a small part into the main body, you eliminate a costly mold cavity, which saves you serious money.
Second, closely mind your draft angles. Avoid harsh, sharp 90-degree angles at all costs. If your character has a perfectly flat, blocky head like a retro robot, it is going to be an absolute nightmare to pull out of a slush casting mold. By adding a slight taper—even just a tiny 3-degree angle—the hot toy will slide right out easily. If the factory doesn’t have to violently fight to extract your toy, they won’t have to engineer complex, expensive split molds to compensate for bad geometry.
Finally, talk to your factory before you finalize the final 3D sculpt. Send them a rough, work-in-progress draft. Let their seasoned tooling engineers look for obvious red flags. Sometimes, moving a character’s arm just two millimeters to the left can instantly change a design from “impossible to mold” to “easy to mold.” We genuinely love it when clients bring us in early. It saves everyone massive headaches and saves you serious cash. Be sure to carefully review our complete pre-production tech pack checklist to make sure your digital files are totally ready for the big leagues.
How to Protect Your Tooling Investment
You are spending serious money, so you logically need to protect it. When you are carefully vetting a manufacturing partner for your custom art toys, you need to ask the right questions. Treat it exactly like a rigorous job interview.
Ask them directly about their wax cleanup process. Do they have dedicated, trained artisans, or do they just lazily dip the 3D print in a smoothing chemical and call it a day? Ask about their copper plating duration. A longer chemical bath means a thicker, vastly stronger mold.
Also, explicitly ask who actually owns the mold. This is a massive one. Some incredibly shady factories will charge you full price for the tooling, but then falsely claim they own the physical mold and aggressively refuse to let you move production somewhere else later if you are unhappy. A reputable B2B partner will always clearly state in the official contract that you, the IP owner, own the tooling outright. You paid for it; it belongs to you. Period.
Wrapping Up the Tooling Talk
Look, paying for tooling is notoriously the hardest check to write. You are essentially paying thousands of dollars for a specialized metal cup that you will likely never even see in person. But that copper mold is the beating heart of your entire toy project. It heavily dictates the surface texture, the premium weight, the joint fit, and the ultimate luxury feel of your merchandise.
When you truly understand the intense chemistry, the precise, math-driven engineering, and the highly skilled hand-craftsmanship required to grow a flawless, production-ready mold, that $2,000+ price tag abruptly stops looking like a rip-off. It starts looking like the exact, necessary cost of turning your dream into a tangible, high-quality reality. Don’t cut dangerous corners on your foundation. Your art simply deserves better than that.
MIHOX-Frequently Asked Questions (FAQs)
A high-quality soft vinyl slush casting mold made from thick, properly electroplated copper is incredibly durable. Under standard factory conditions, a well-maintained copper mold can safely produce anywhere from 3,000 to 5,000 units before showing any minor signs of wear or detail loss.
Absolutely! This is the biggest financial benefit of investing in good art toy tooling. Once the copper mold is paid for and sitting on the factory shelf, you can use it to run an initial batch of 500 toys, and then later run a totally different glow-in-the-dark or clear colorway without ever paying that tooling fee again.
Injection molding tooling requires carving massive, solid blocks of hardened steel using expensive CNC machinery so the mold can withstand thousands of pounds of high-pressure plastic injection. Slush casting uses a slower chemical electroplating process to grow a hollow copper mold, which is far less expensive to produce but perfectly suited for softer plastics like PVC.
When you work with a reputable manufacturer, you retain full ownership of your custom art toy mold. You are essentially paying the factory to build the tool on your behalf. Always ensure your manufacturing contract explicitly states that the tooling is your exclusive property.
Creating a professional copper mold for designer toys typically takes between 15 to 25 days. This timeframe accounts for 3D printing the master, the meticulous manual wax cleanup process, the multi-day chemical electroplating bath, and the crucial T0 and T1 testing phases to ensure the mold pulls flawlessly.